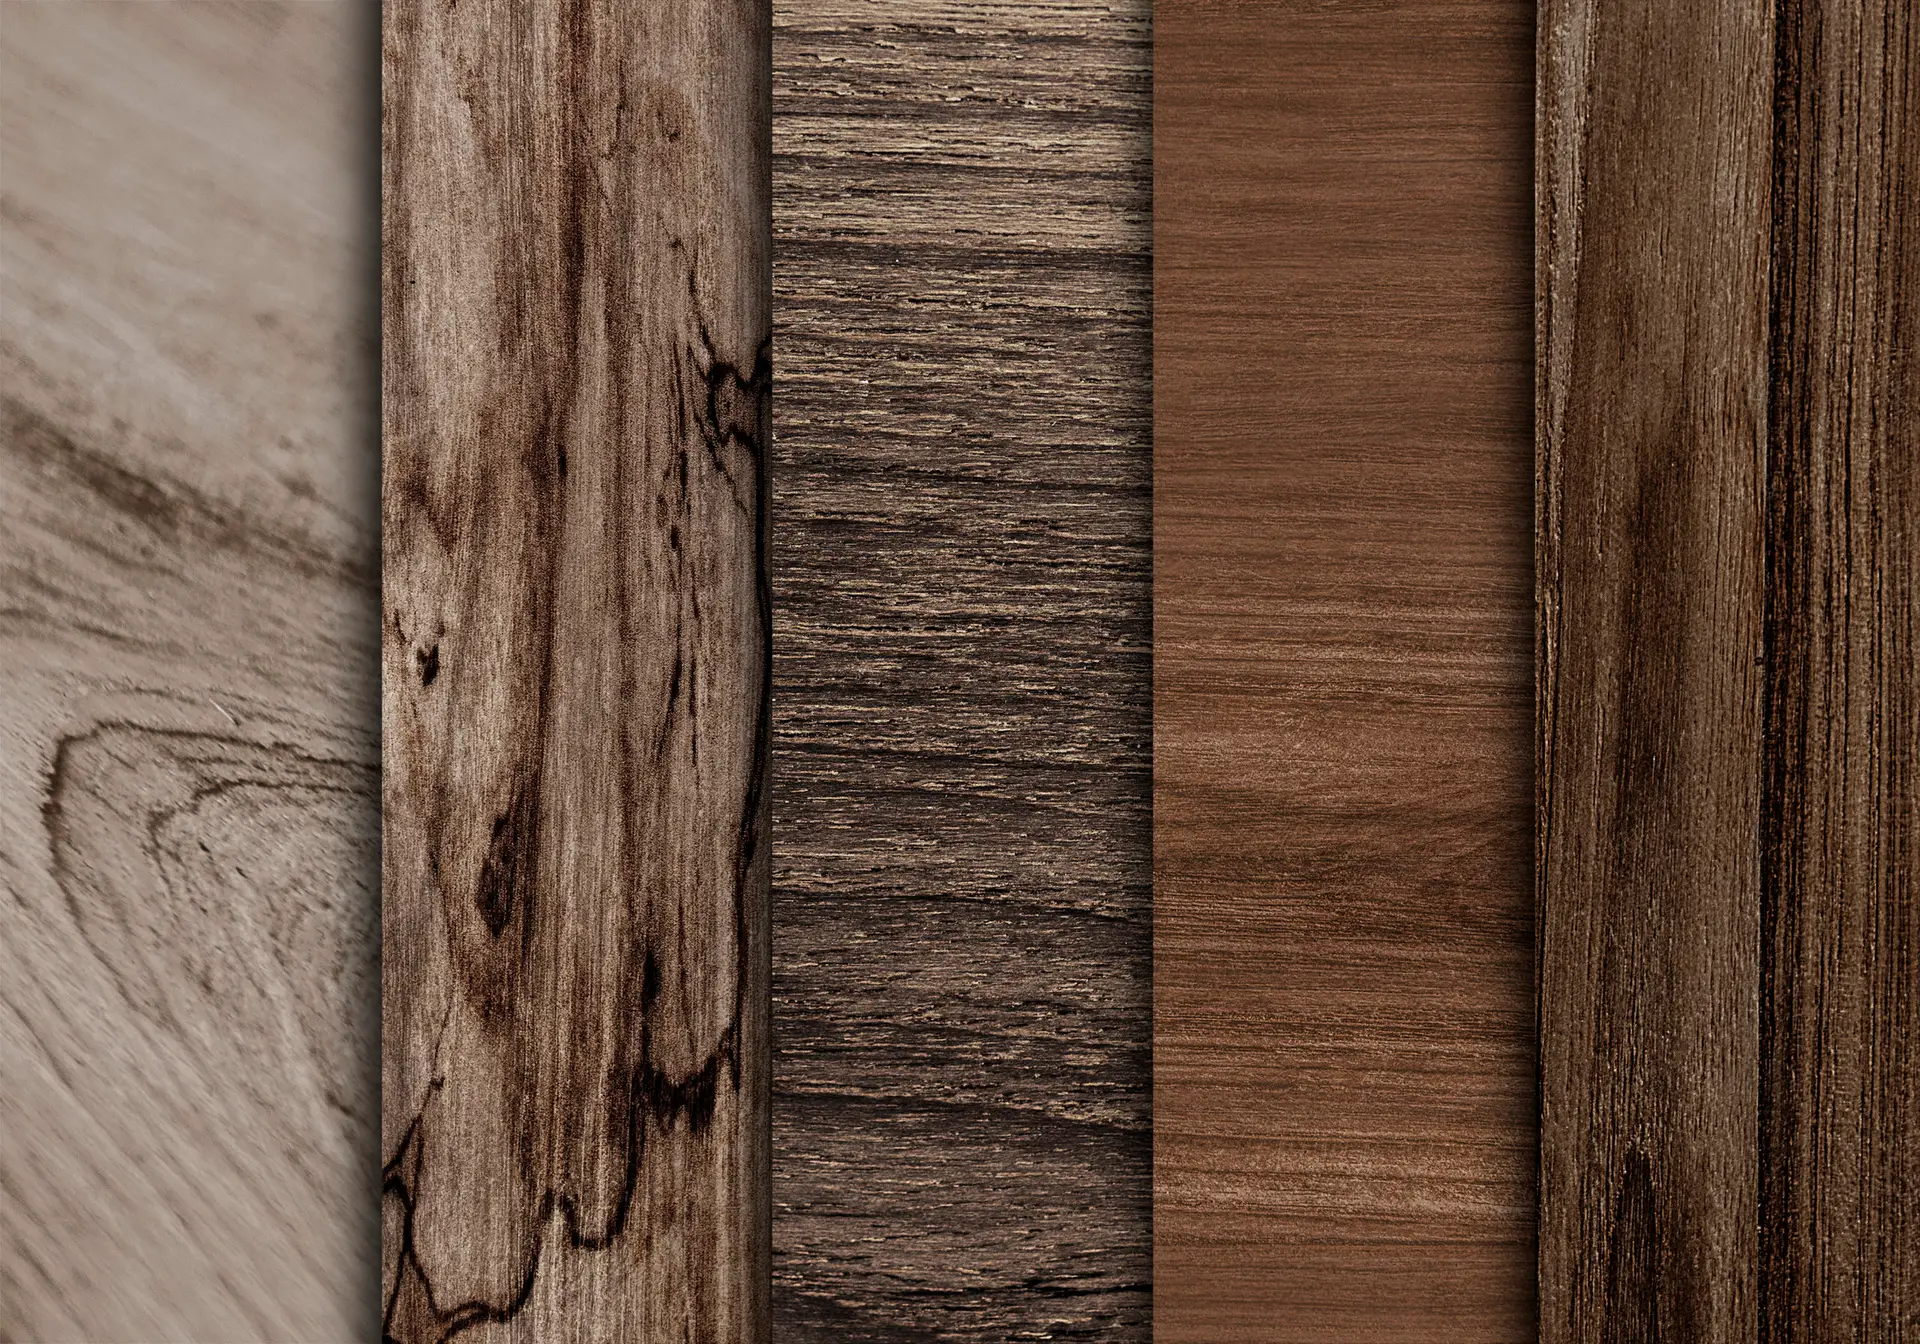
Thinking about installing wooden flooring yourself? This guide breaks down the entire process of wooden flooring installation into clear, easy-to-follow steps. From preparing your subfloor to the final polish, you’ll learn everything you need to know to achieve a professional look in your home.
Key Takeaways
- Proper preparation of the subfloor, including moisture checking and ensuring flatness, is essential for successful wood flooring installation.
- Acclimating wooden flooring for at least seven days in the intended environment minimises the risk of warping and ensures stability.
- Using the correct tools, materials, and installation techniques, including maintaining expansion gaps and staggering joints, contributes to a professional finish.
Preparing Your Subfloor
A successful wood flooring installation begins with preparing your timber subfloors. This step ensures your new floor remains stable, level, and free from issues like warping or buckling. Start by thoroughly cleaning the subfloor, removing any wax, oil, or adhesive residues to create a suitable surface for the new flooring.
Next, check the moisture content of your subfloor. Here are the requirements:
- For concrete subfloors, the moisture content should not exceed 2%.
- For plywood, the moisture content should be below 16%.
- Concrete subfloors should have a relative humidity below 65% to ensure dryness.
Use a moisture meter to confirm your subfloor meets these requirements.
Additionally, the subfloor must be flat and level within 3mm over a 3m radius. Use a straight edge or a spirit level to identify any unevenness.
If necessary, apply two coats of a liquid damp proof membrane such as Ted Todd Primerfast if there is no underfloor heating system.
Address any uneven floors. Repair any low or high spots to create a smooth surface for the wood flooring. This attention to detail helps avoid issues during installation and ensures a long-lasting, beautiful floor.
Acclimating Wooden Flooring
Before laying your new wooden flooring, acclimatise the wood to the room’s environment. This step helps minimise expansion or shrinkage that can lead to warping, cracking, or buckling after installation. Allow the wooden flooring to acclimatise for at least seven days in the room where it will be installed.
During the acclimatisation process, maintain a stable room environment to enhance its effectiveness. This includes keeping the room’s temperature and humidity levels consistent. Properly acclimating your wood flooring ensures it adjusts to its new surroundings, providing stability and longevity.
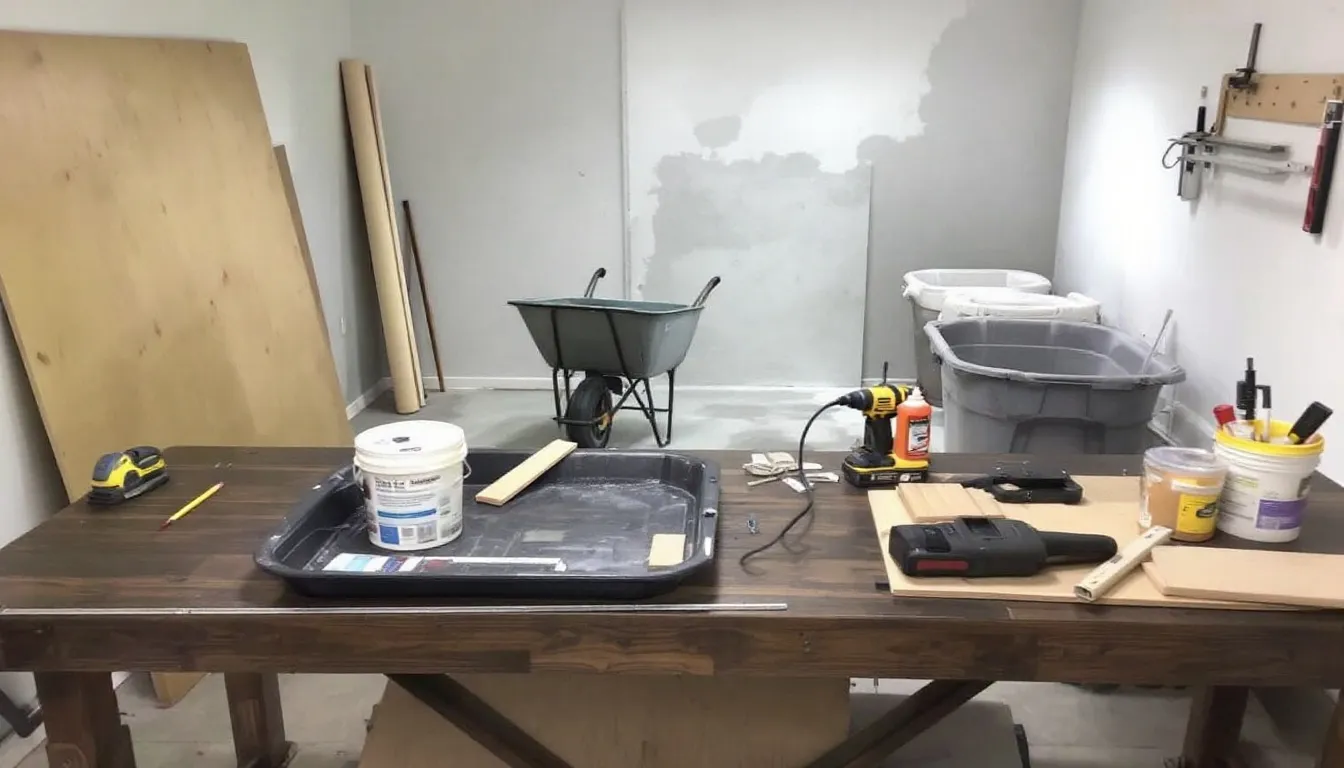
Essential Tools and Materials
The right tools and materials are crucial for a smooth and efficient wood flooring installation. Some of the essential tools you’ll need include a moisture meter, a rubber mallet, a tape measure, a chalk line, a tapping block, a mitre box, and a panel saw. These tools will help you achieve precise cuts and secure the flooring properly.
In addition to tools, you’ll need materials such as adhesive, spacers, and grab adhesive for fixing the flooring trim. It’s also advisable to purchase 10-15% extra material to account for cutting and wastage. Having all necessary tools and materials ensures you are well-prepared to tackle your wood flooring installation project.
Starting the Installation

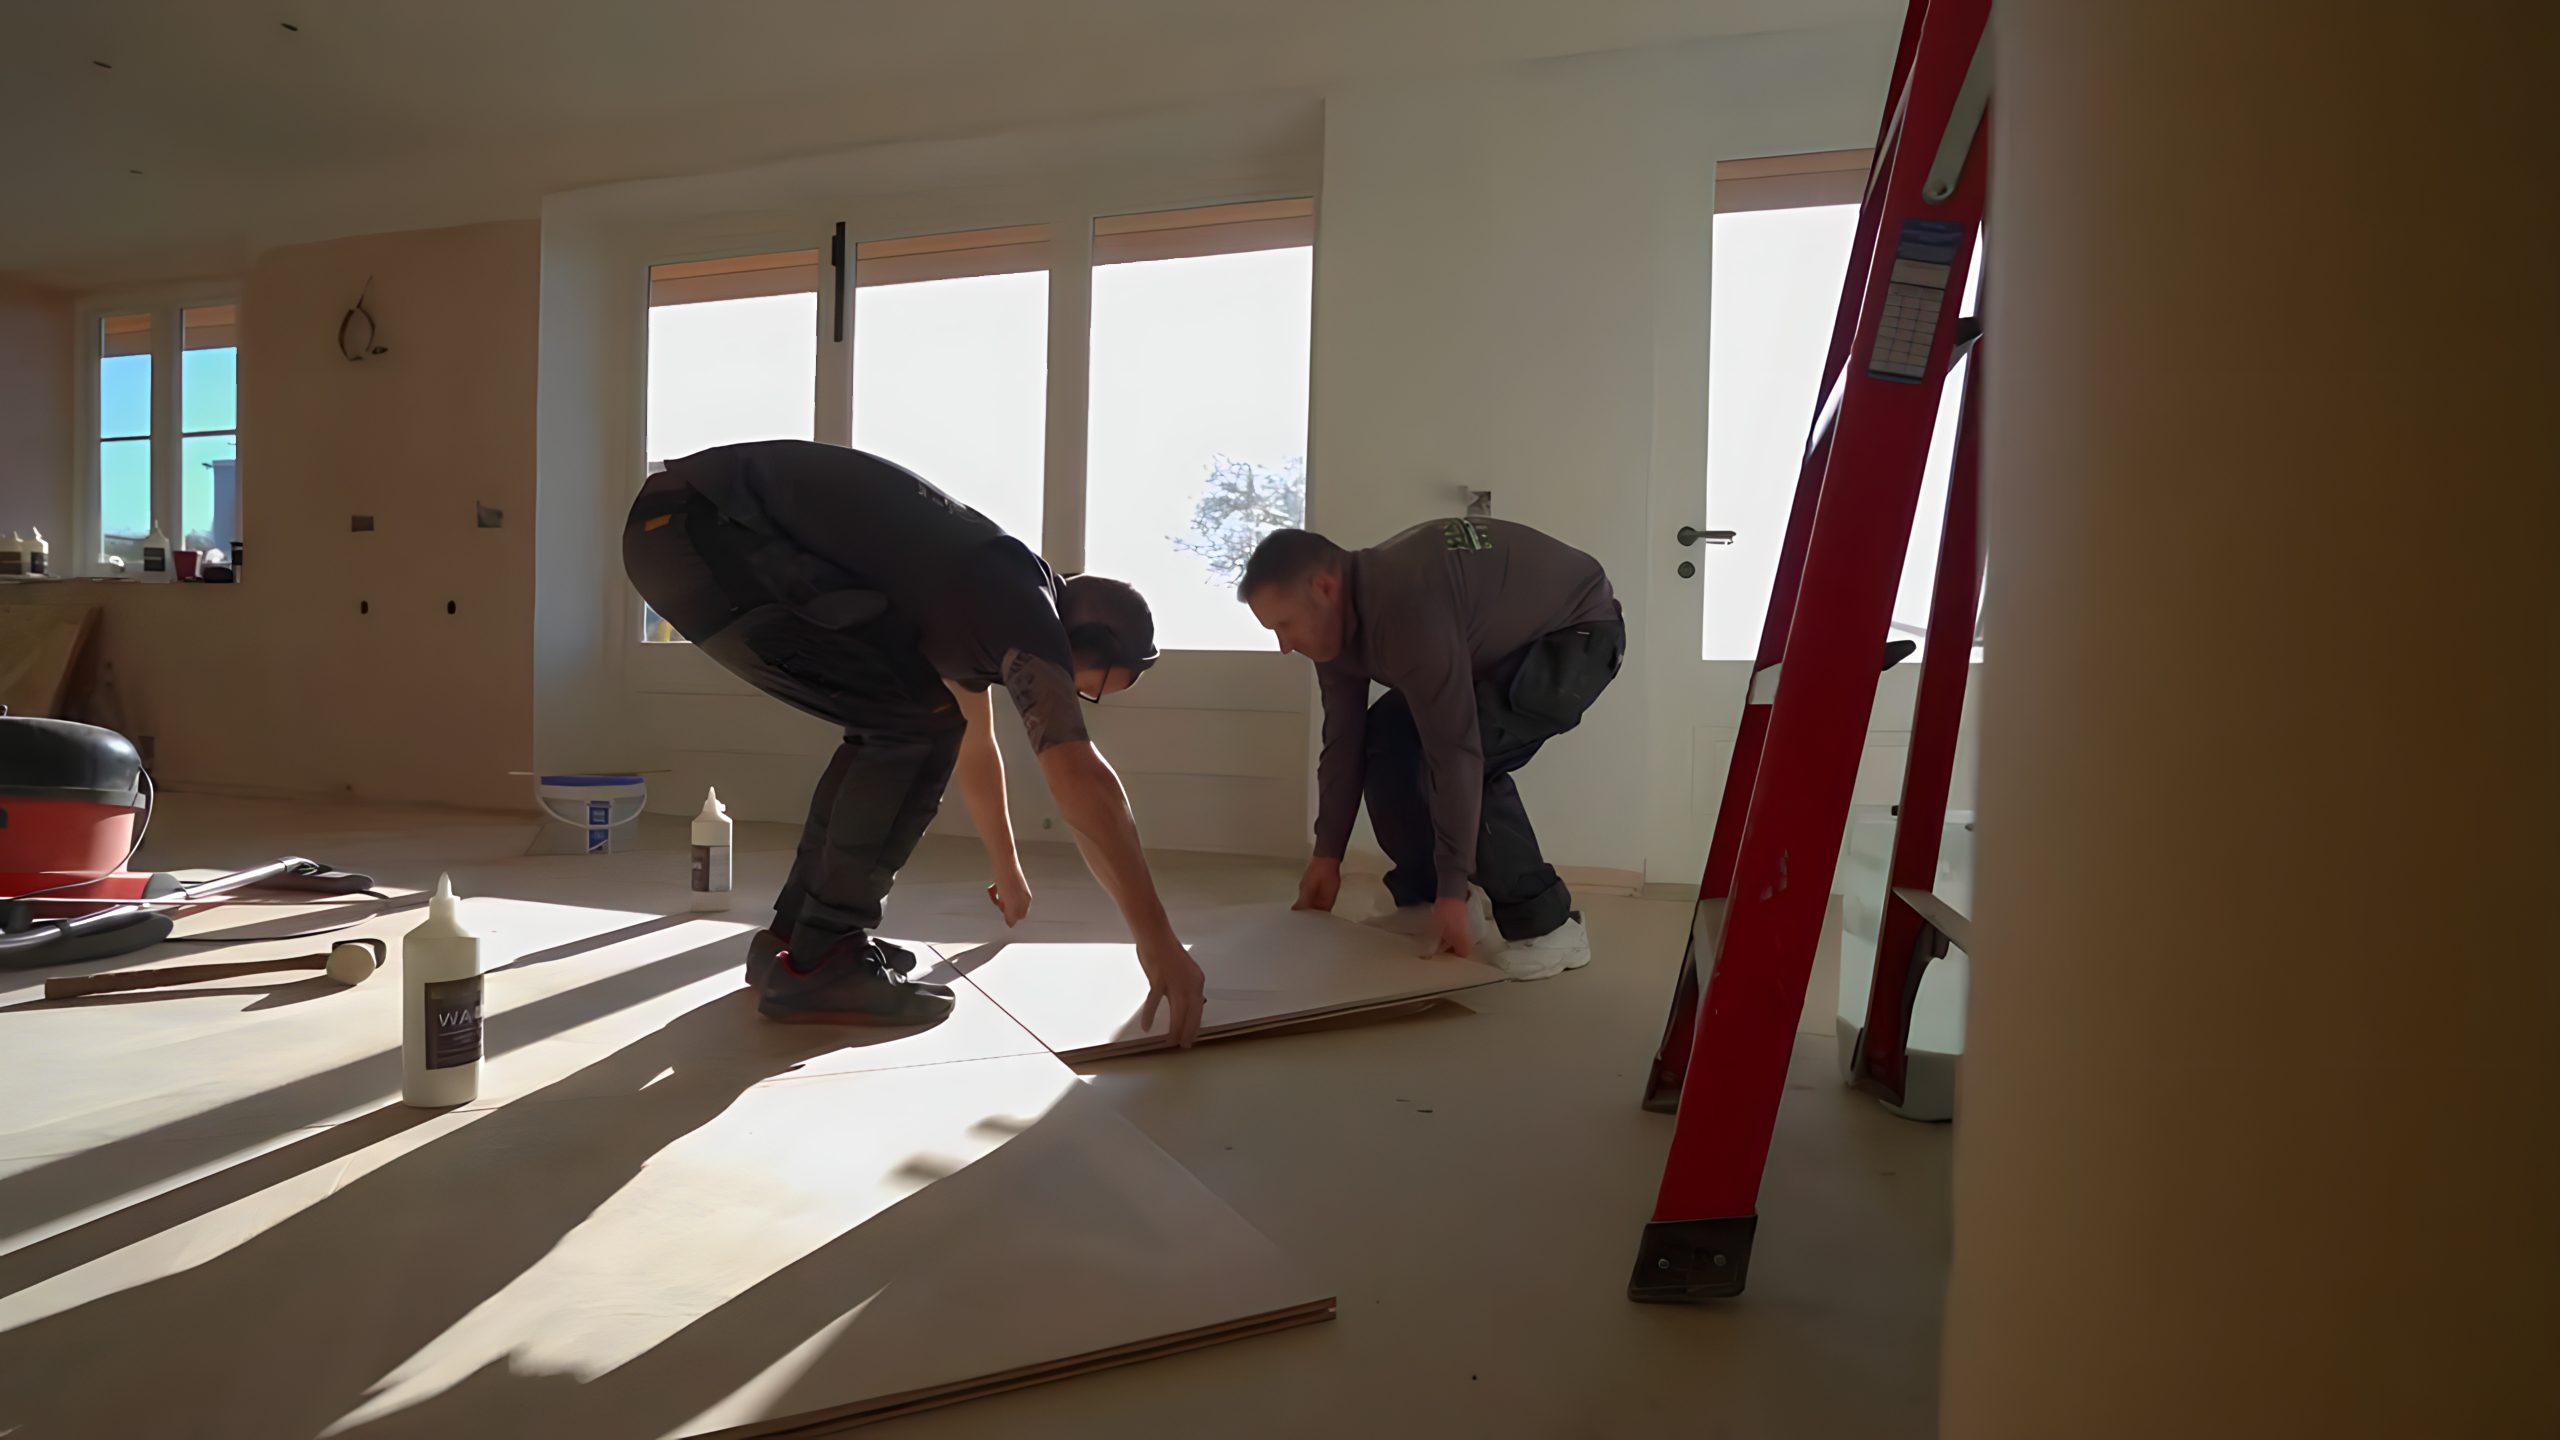
Begin your wood flooring installation by peeling back a small amount of plastic from the self-adhesive underlay. Verify the flatness of the subfloor to prevent potential issues with board placement. Lay the first board with the groove facing the wall, pressing down firmly, and using spacers to maintain an expansion gap during the floor installation.
Use a chalk line to mark the starting wall, ensuring straight alignment for the first row of boards. It’s advisable to start laying boards from the left side of the room and work towards the right. Lay the first board and ensure it is level before continuing with subsequent rows to maintain proper alignment. Cut the first board to fit precisely at the starting wall for a clean installation.
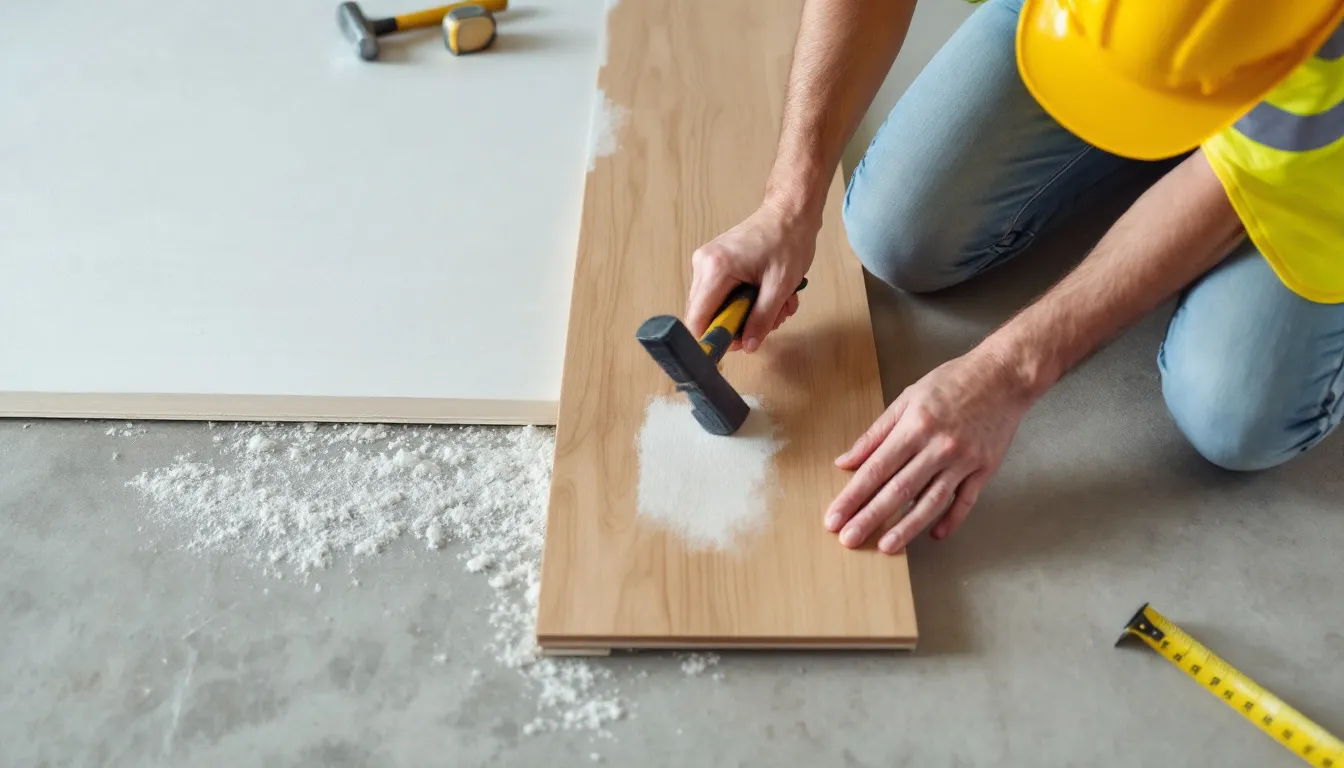
A rubber mallet is recommended to avoid damaging planks when installing flooring with a click joint system. Use low tack masking tape on the joints of the planks to prevent movement during installation. To ensure individual planks fit snugly together, use a tapping block during installation.
Installing Wooden Flooring on Concrete
When installing wooden flooring on a concrete subfloor, it’s important to use a flexible adhesive, such as Mapei P990 or Pallman products. This type of adhesive allows the wood to move slightly, accommodating natural expansion and contraction. Spread the adhesive in small sections to prevent it from drying out before the wood is laid.
Ensure that the joints in the second row are at least 150mm apart to allow for movement and stability. The staggered pattern enhances the walls’ overall strength and appearance.
Following these steps creates a stable and visually appealing wood floor on a concrete floor subfloor to lay solid.
Installing Wooden Flooring on Plywood
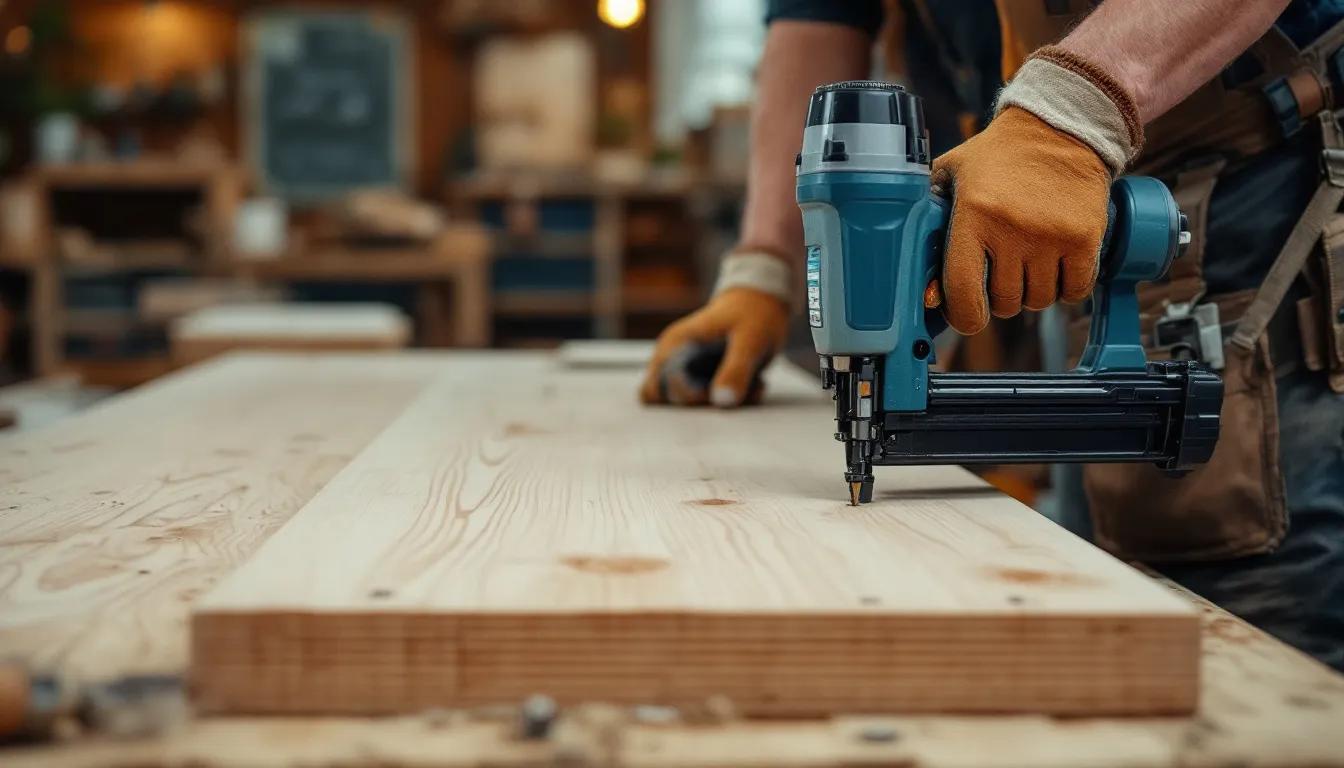
Installing wooden flooring on a plywood subfloor involves using an overlay flooring nailer to secure the boards. Maintain 10mm expansion gaps around the perimeter during installation to accommodate natural wood movement. Utilise 10mm spacers to ensure proper spacing when laying down your flooring.
Stagger the joints by ensuring that the end joints are spaced at least 150mm apart for enhanced stability and a better appearance. Nail boards down every 200mm or with a minimum of 2 nails on shorter boards.
Angle the cut board against the first board and add an expansion spacer for the next row. This method ensures a secure and visually pleasing installation on a plywood subfloor.
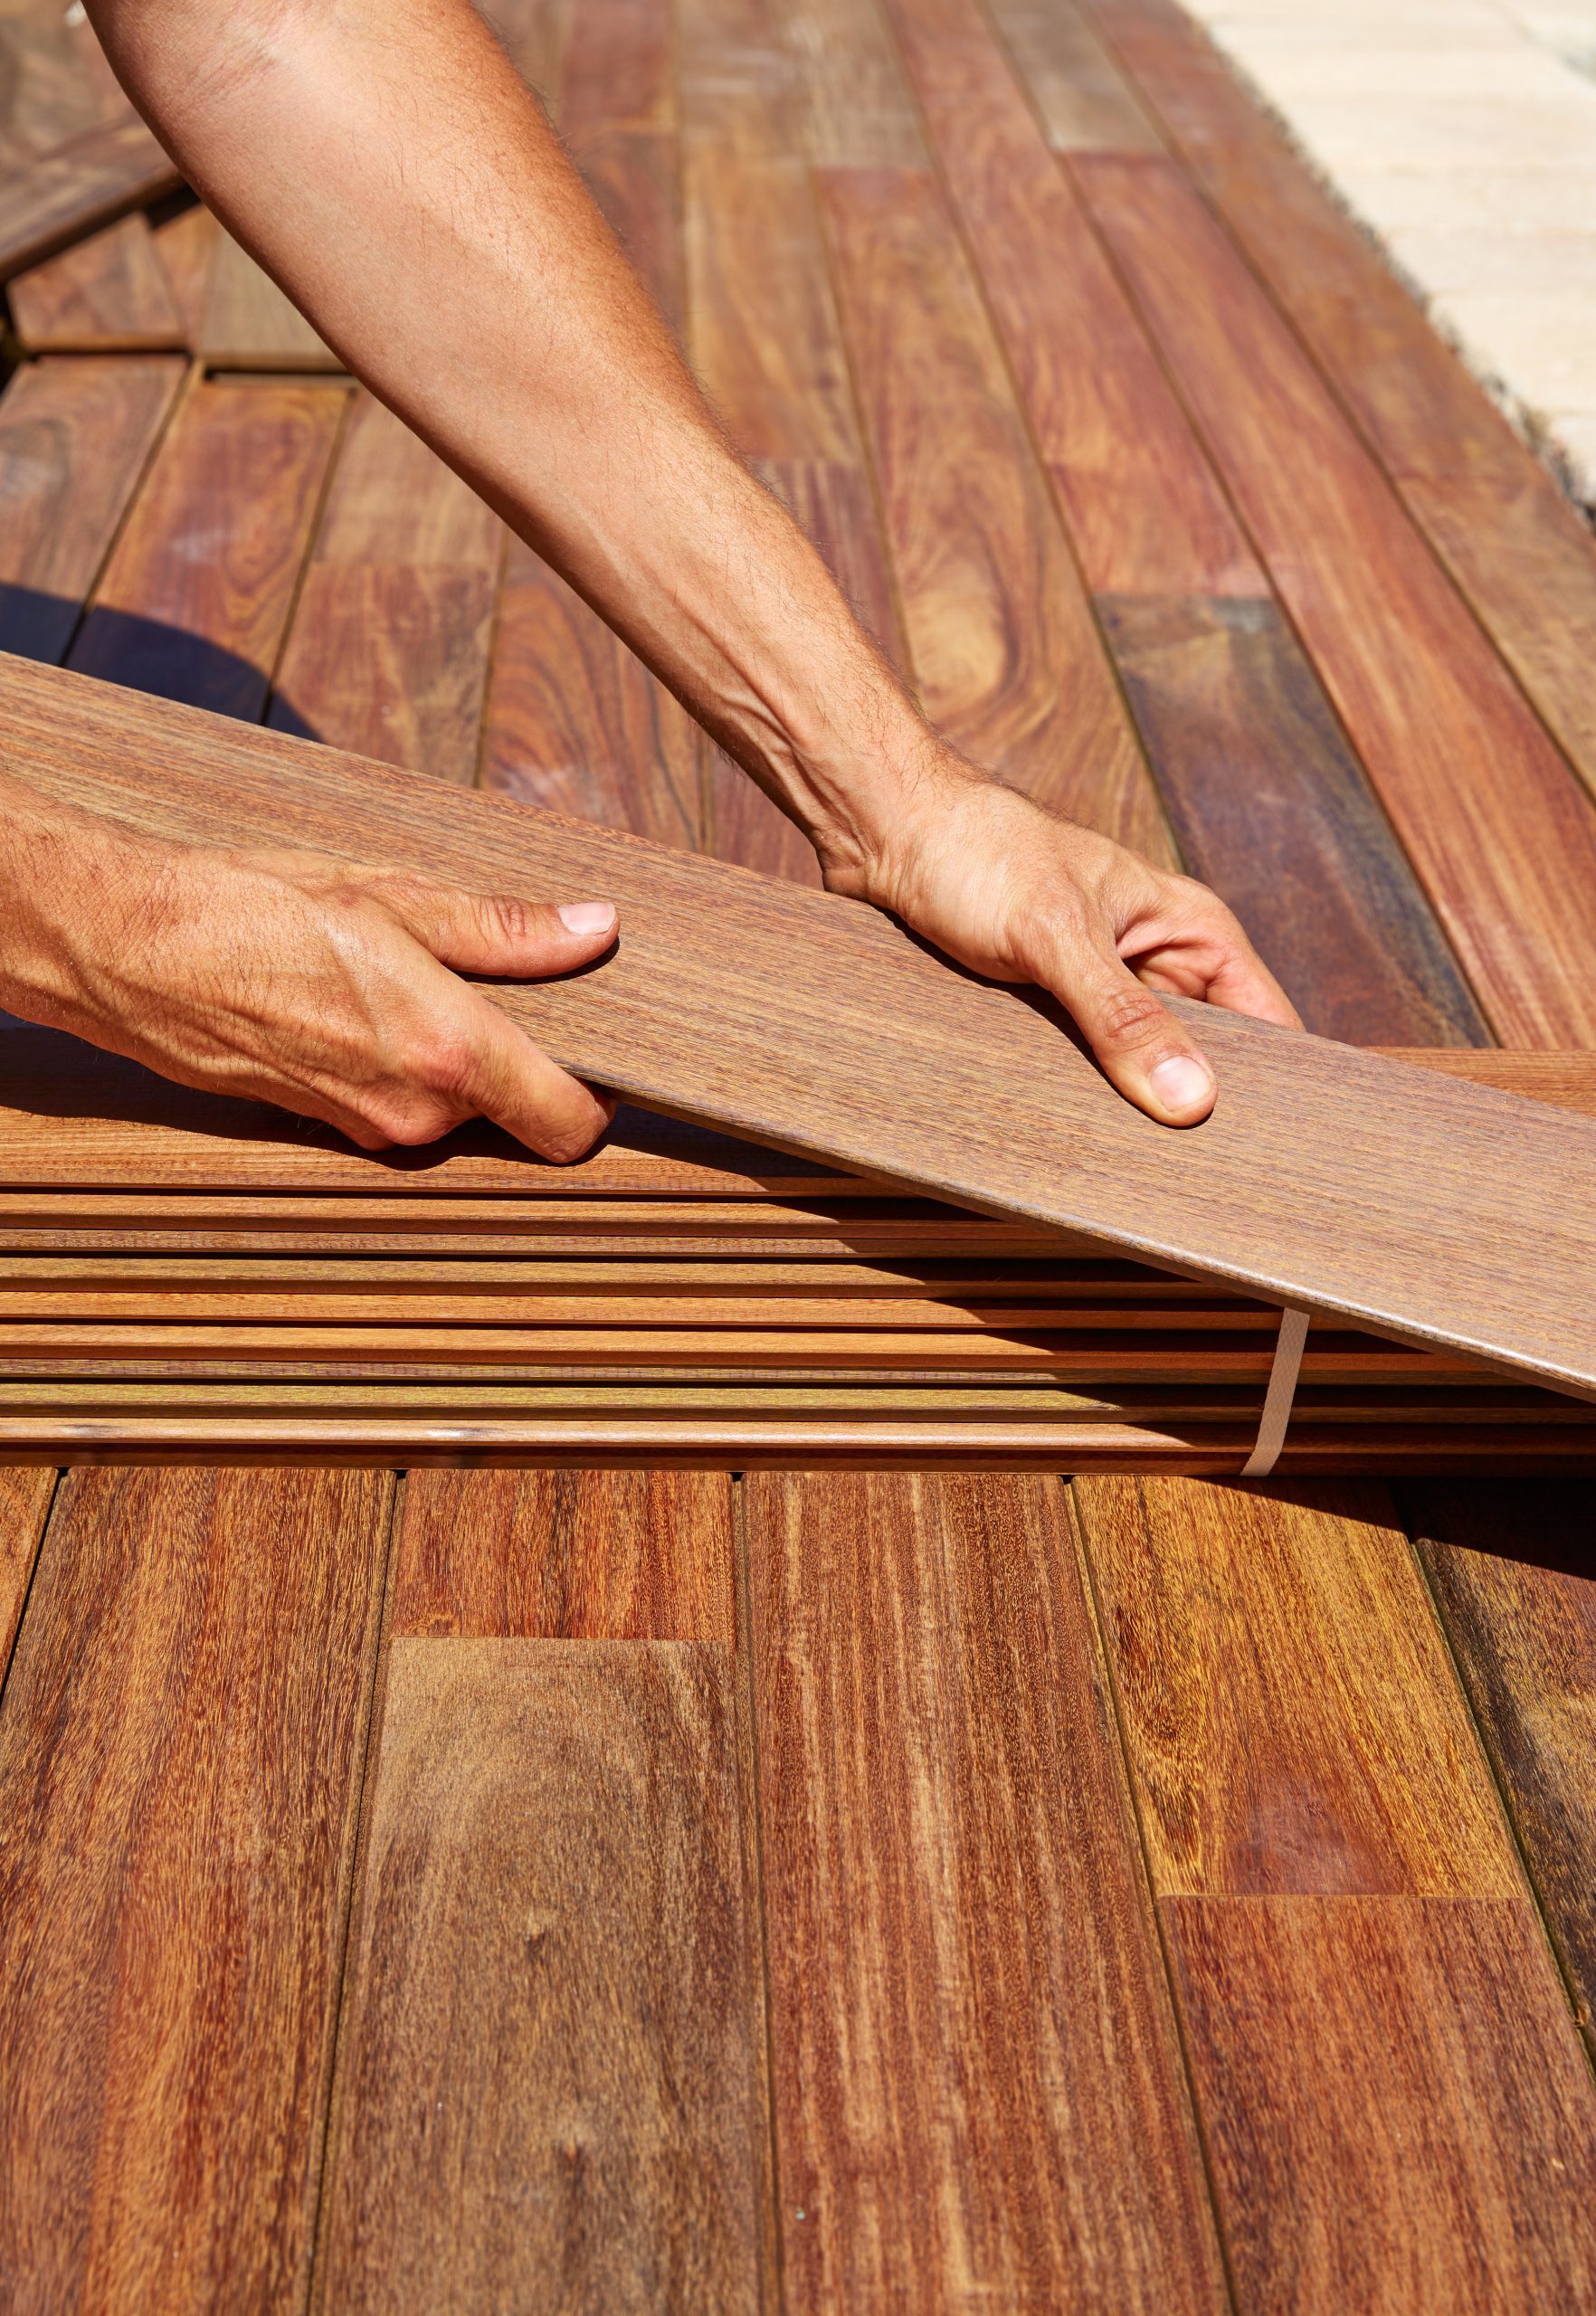
Cutting and Fitting Boards
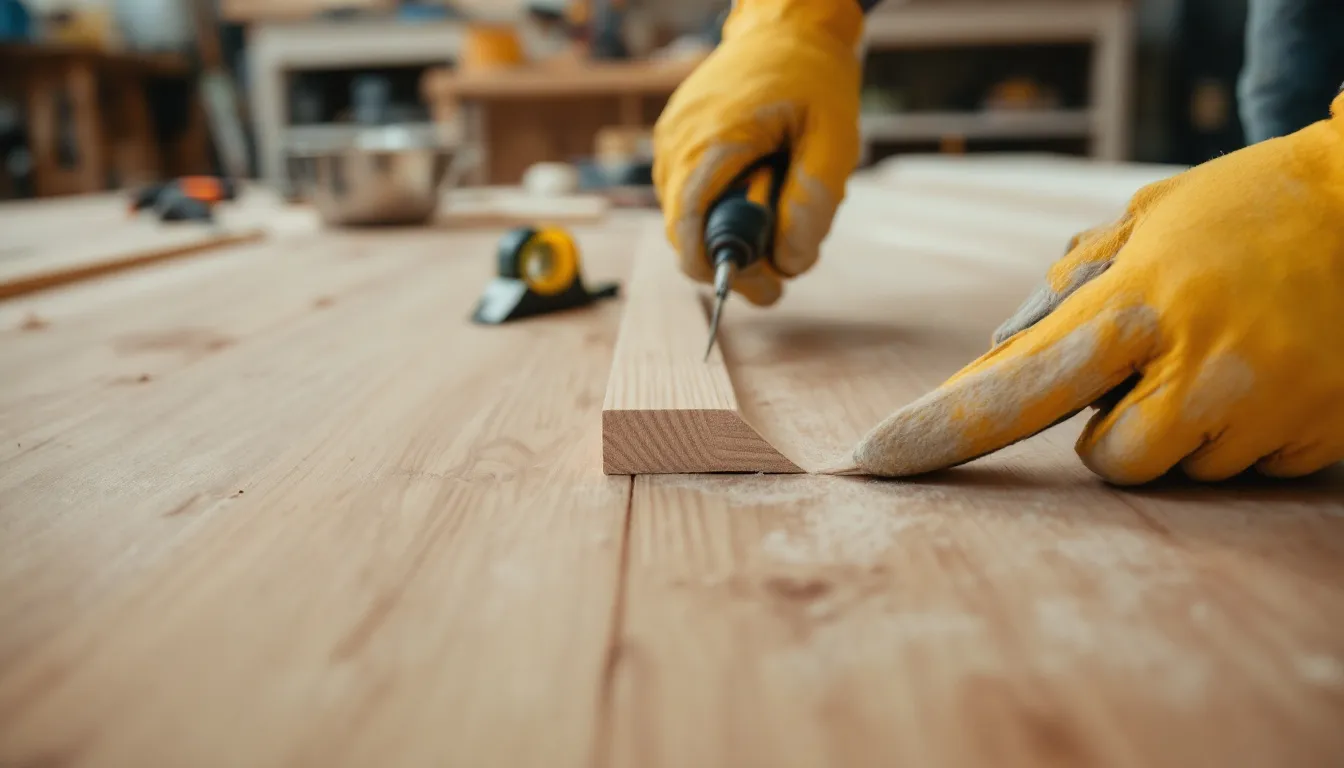
Accurate cutting and fitting of boards is crucial for a professional-looking wood floor. Use a table saw or hand saw for cutting hardwood flooring, as trimming knives are insufficient for the task. Always wear a dust mask or safety goggles when cutting boards to ensure safety.
Using a third board as a template allows for more accurate measurements when cutting the last board in a row. Mark your cuts with a pencil to ensure precision when trimming cut boards.
Following these tips ensures precise cuts and a perfect fit for each solid wood board, resulting in a seamless and beautiful wood floor.
Fitting Around Obstacles
Fitting wood flooring around obstacles like radiator pipes and door frames requires careful planning and precision. Fit boards around pipes by drawing a line at the centre of the pipe, drilling a 32mm hole, cutting two angled lines from the hole to the board’s edge, and fitting the board. For fitting around a radiator pipe, draw lines to show where to drill, then cut with a jigsaw or hacksaw for precision.
When fitting boards around a door frame, cut the section of the architrave, measure the board size, and use two smaller boards if necessary. Cutting flooring to fit around obstacles should ideally be done with a jigsaw for better control and precision.
Utilising a contour gauge can help replicate the shape on the flooring for accurate fitting around irregular shapes. Properly fitting boards around obstacles ensures a neat finish and integrates the flooring seamlessly into the room.
Laying the Final Row
Laying the final row of boards requires careful measurement and fitting. You may need to rip the boards down to fit properly while ensuring the required expansion gap is maintained. To ensure a proper fit for the last row, cut it to width with a slight taper if necessary for alignment.
Start by using a pry bar to secure the final row of planks snugly together and ensure there are no gaps between the final row and the previous row. Blind-nailing the last plank rows by hand is common, but if that’s not possible, face-nailing can be done instead.
Maintaining an expansion gap around fixed objects prevents the flooring from buckling due to temperature changes. Following these steps ensures a neat and professional finish for your new floor.
Installing Skirting Boards and Trim
After laying the wooden floor, install skirting boards and trim. Install skirting boards after the flooring to maintain the aesthetic. If you cannot lay any more full-length boards, cut the last board to fit, measuring the distance to the wall spacer.
Use a third board as a template, press it against the skirting board, and mark the board underneath to ensure precise cuts. When applying adhesive for the skirting boards, make sure not to fix them to the floor to allow for natural movement and prevent damage.
Following these steps ensures a polished and professional look for your engineered wood flooring installation methods, in accordance with the manufacturer’s instructions.
Maintenance Tips for Wooden Floors
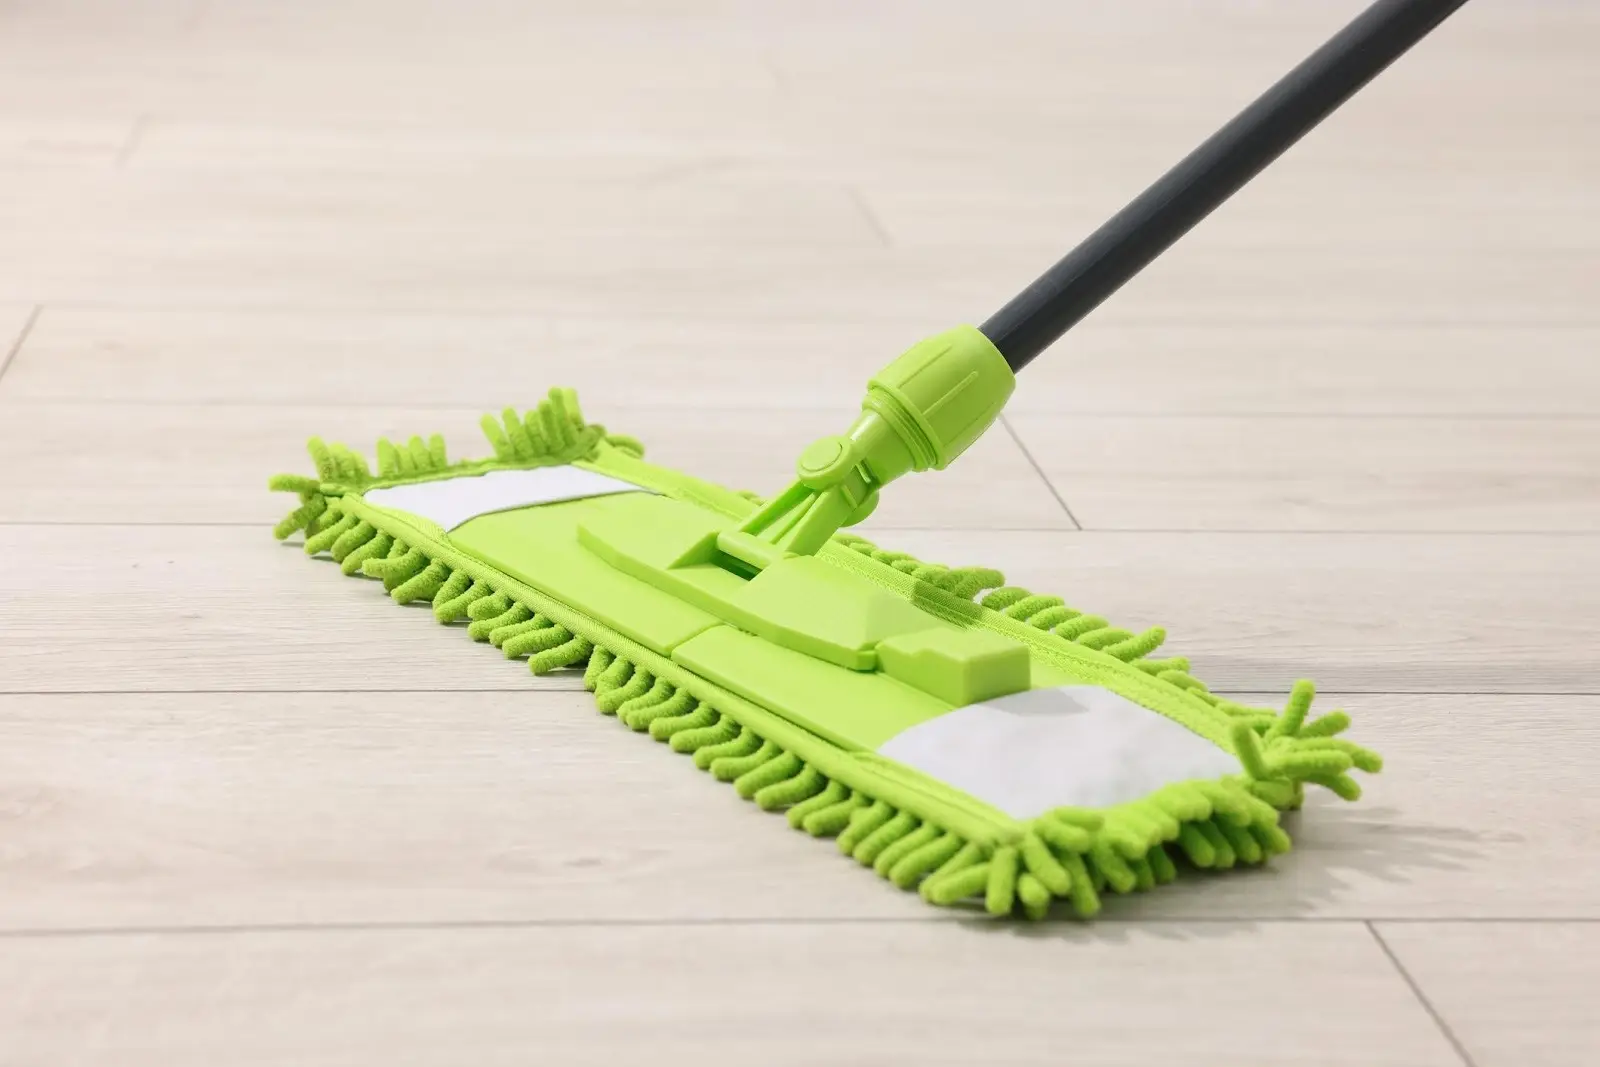
Maintaining your wooden floor ensures its longevity and beauty. Use felt pads or castors under furniture to prevent scratches on the floor. Regularly clean wooden floors using dry brushes or a vacuum to avoid dirt buildup. Avoid using abrasive cloths that can scratch the surface of the wood during cleaning.
Clean spills immediately to prevent staining and damage to the wood. Using a flat-headed spray mop helps minimise the risk of excess moisture harming the wood. Weekly cleaning with a slightly damp mop retains wood quality without causing damage.
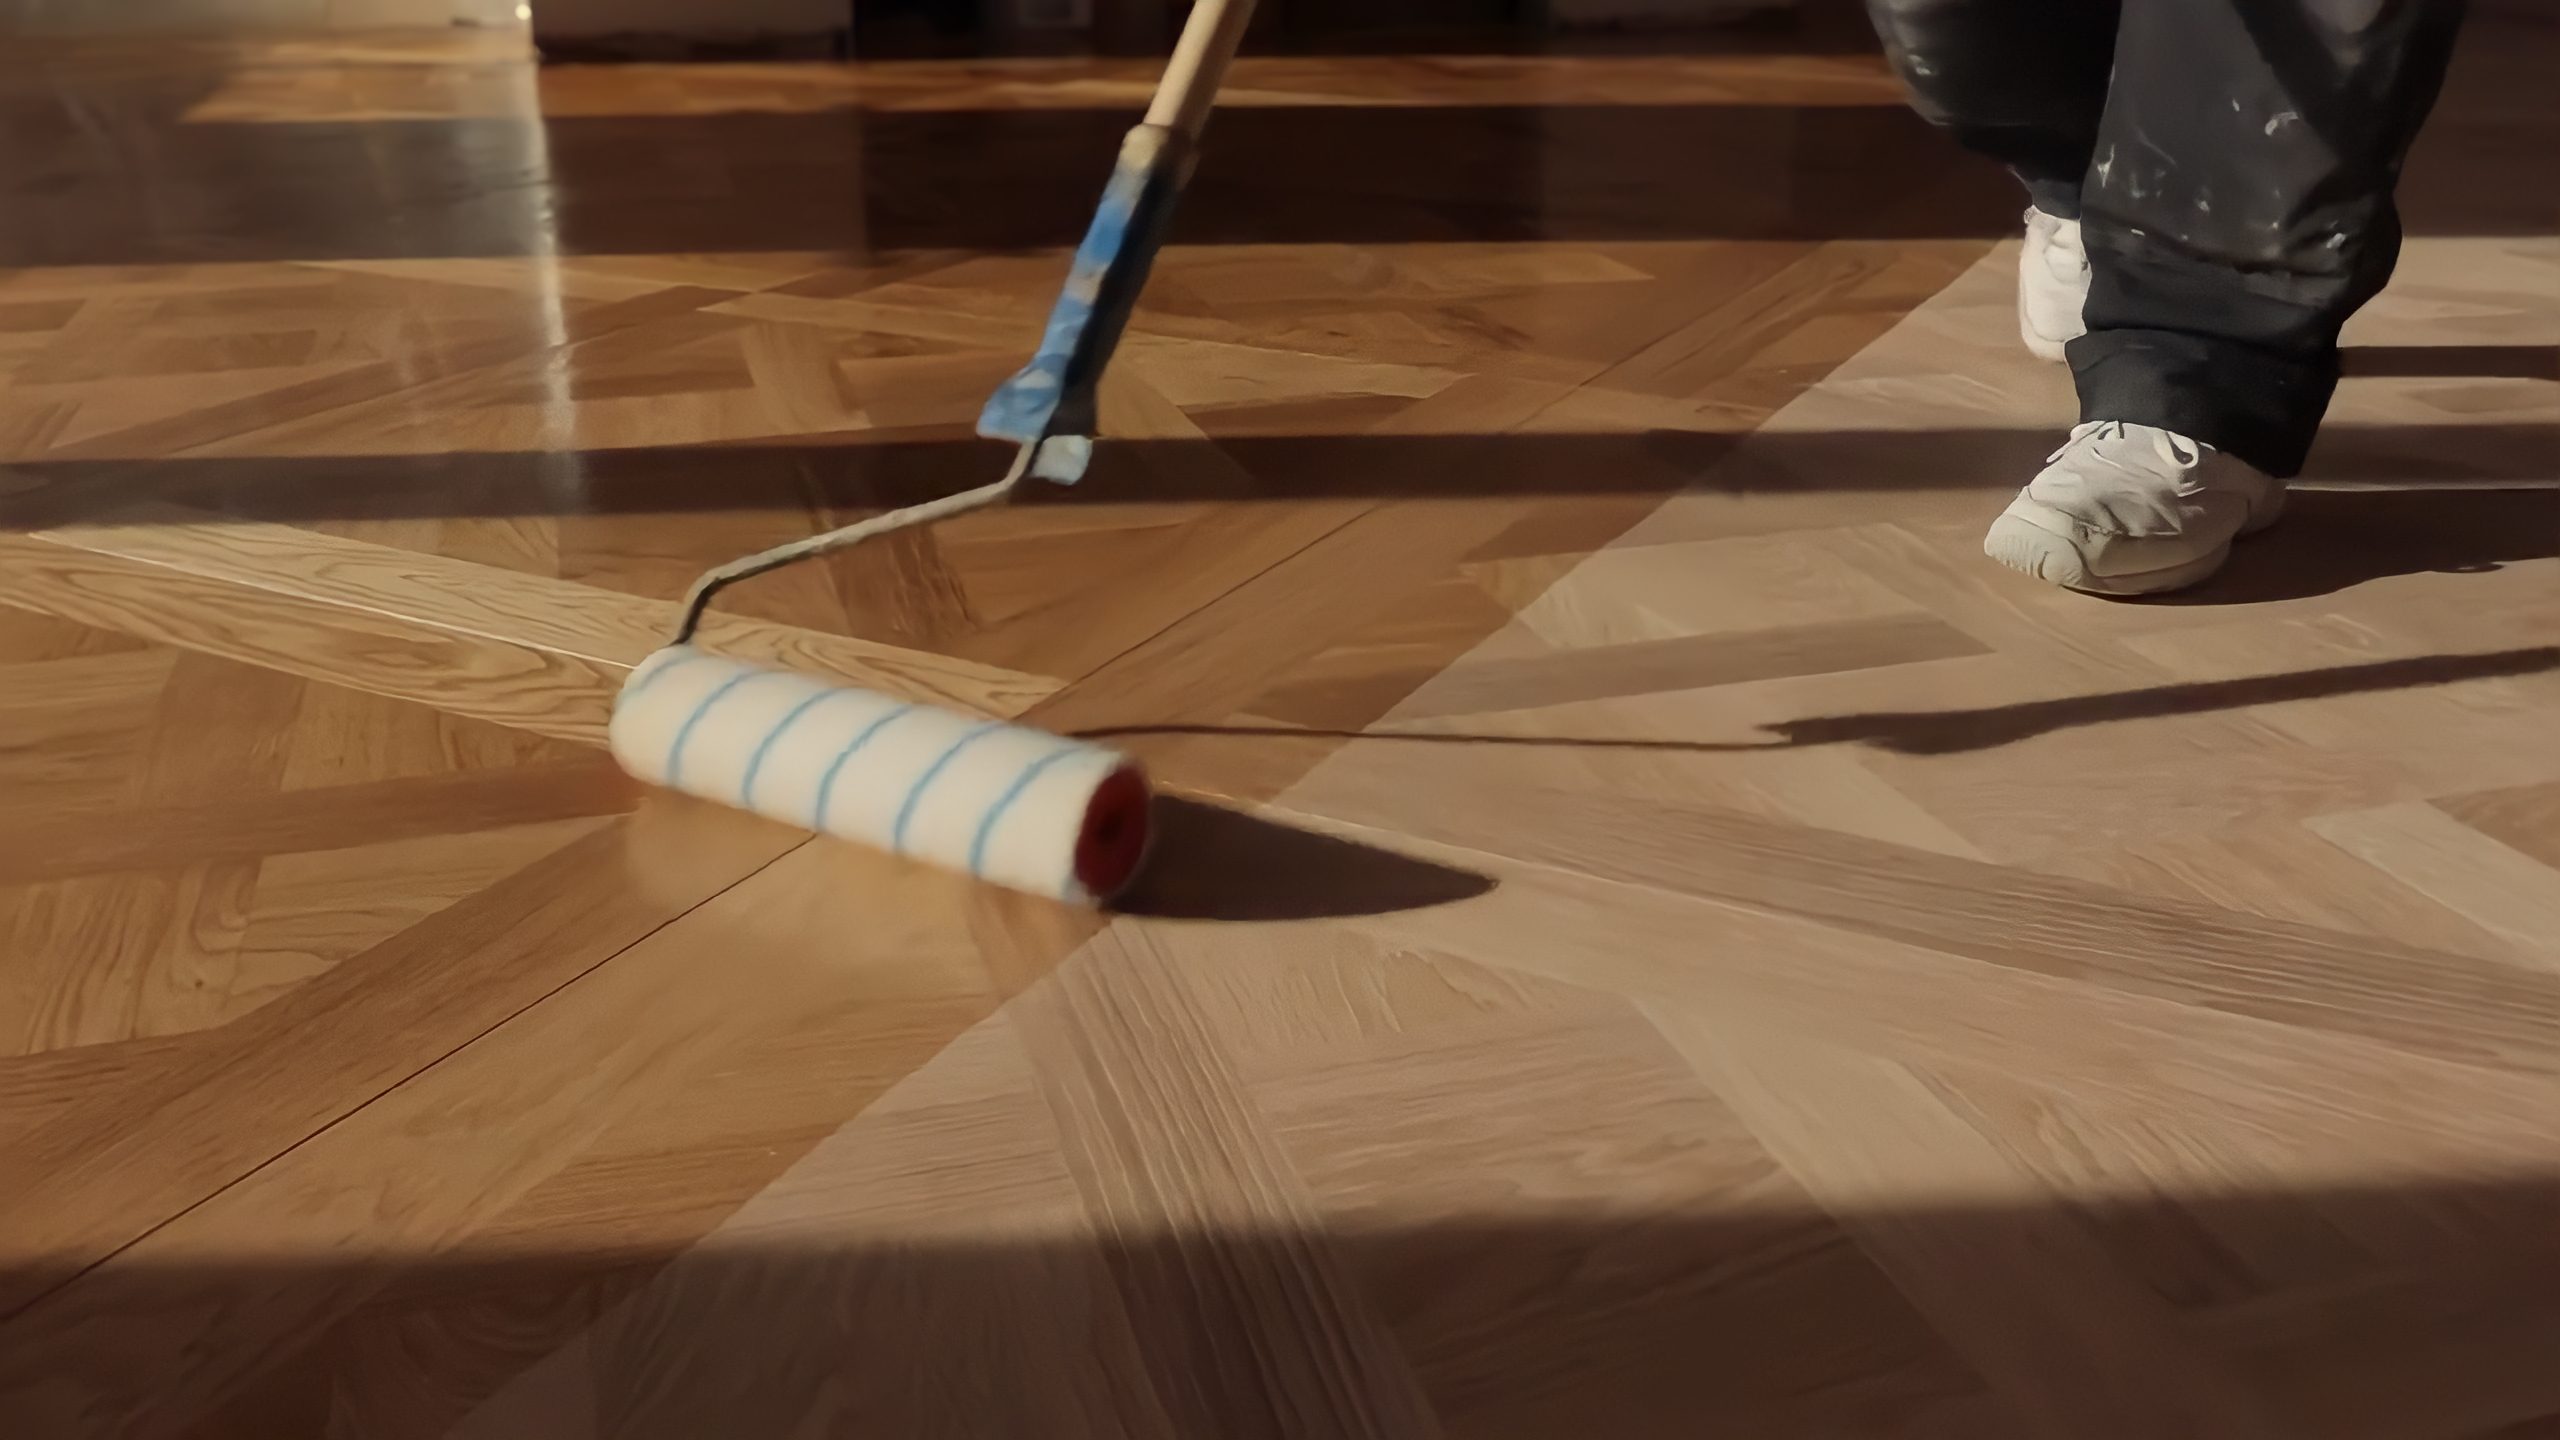
Sanding and refinishing wooden floors can help restore their appearance over time. Following these maintenance tips keeps your wood floor looking beautiful for years to come.
Summary
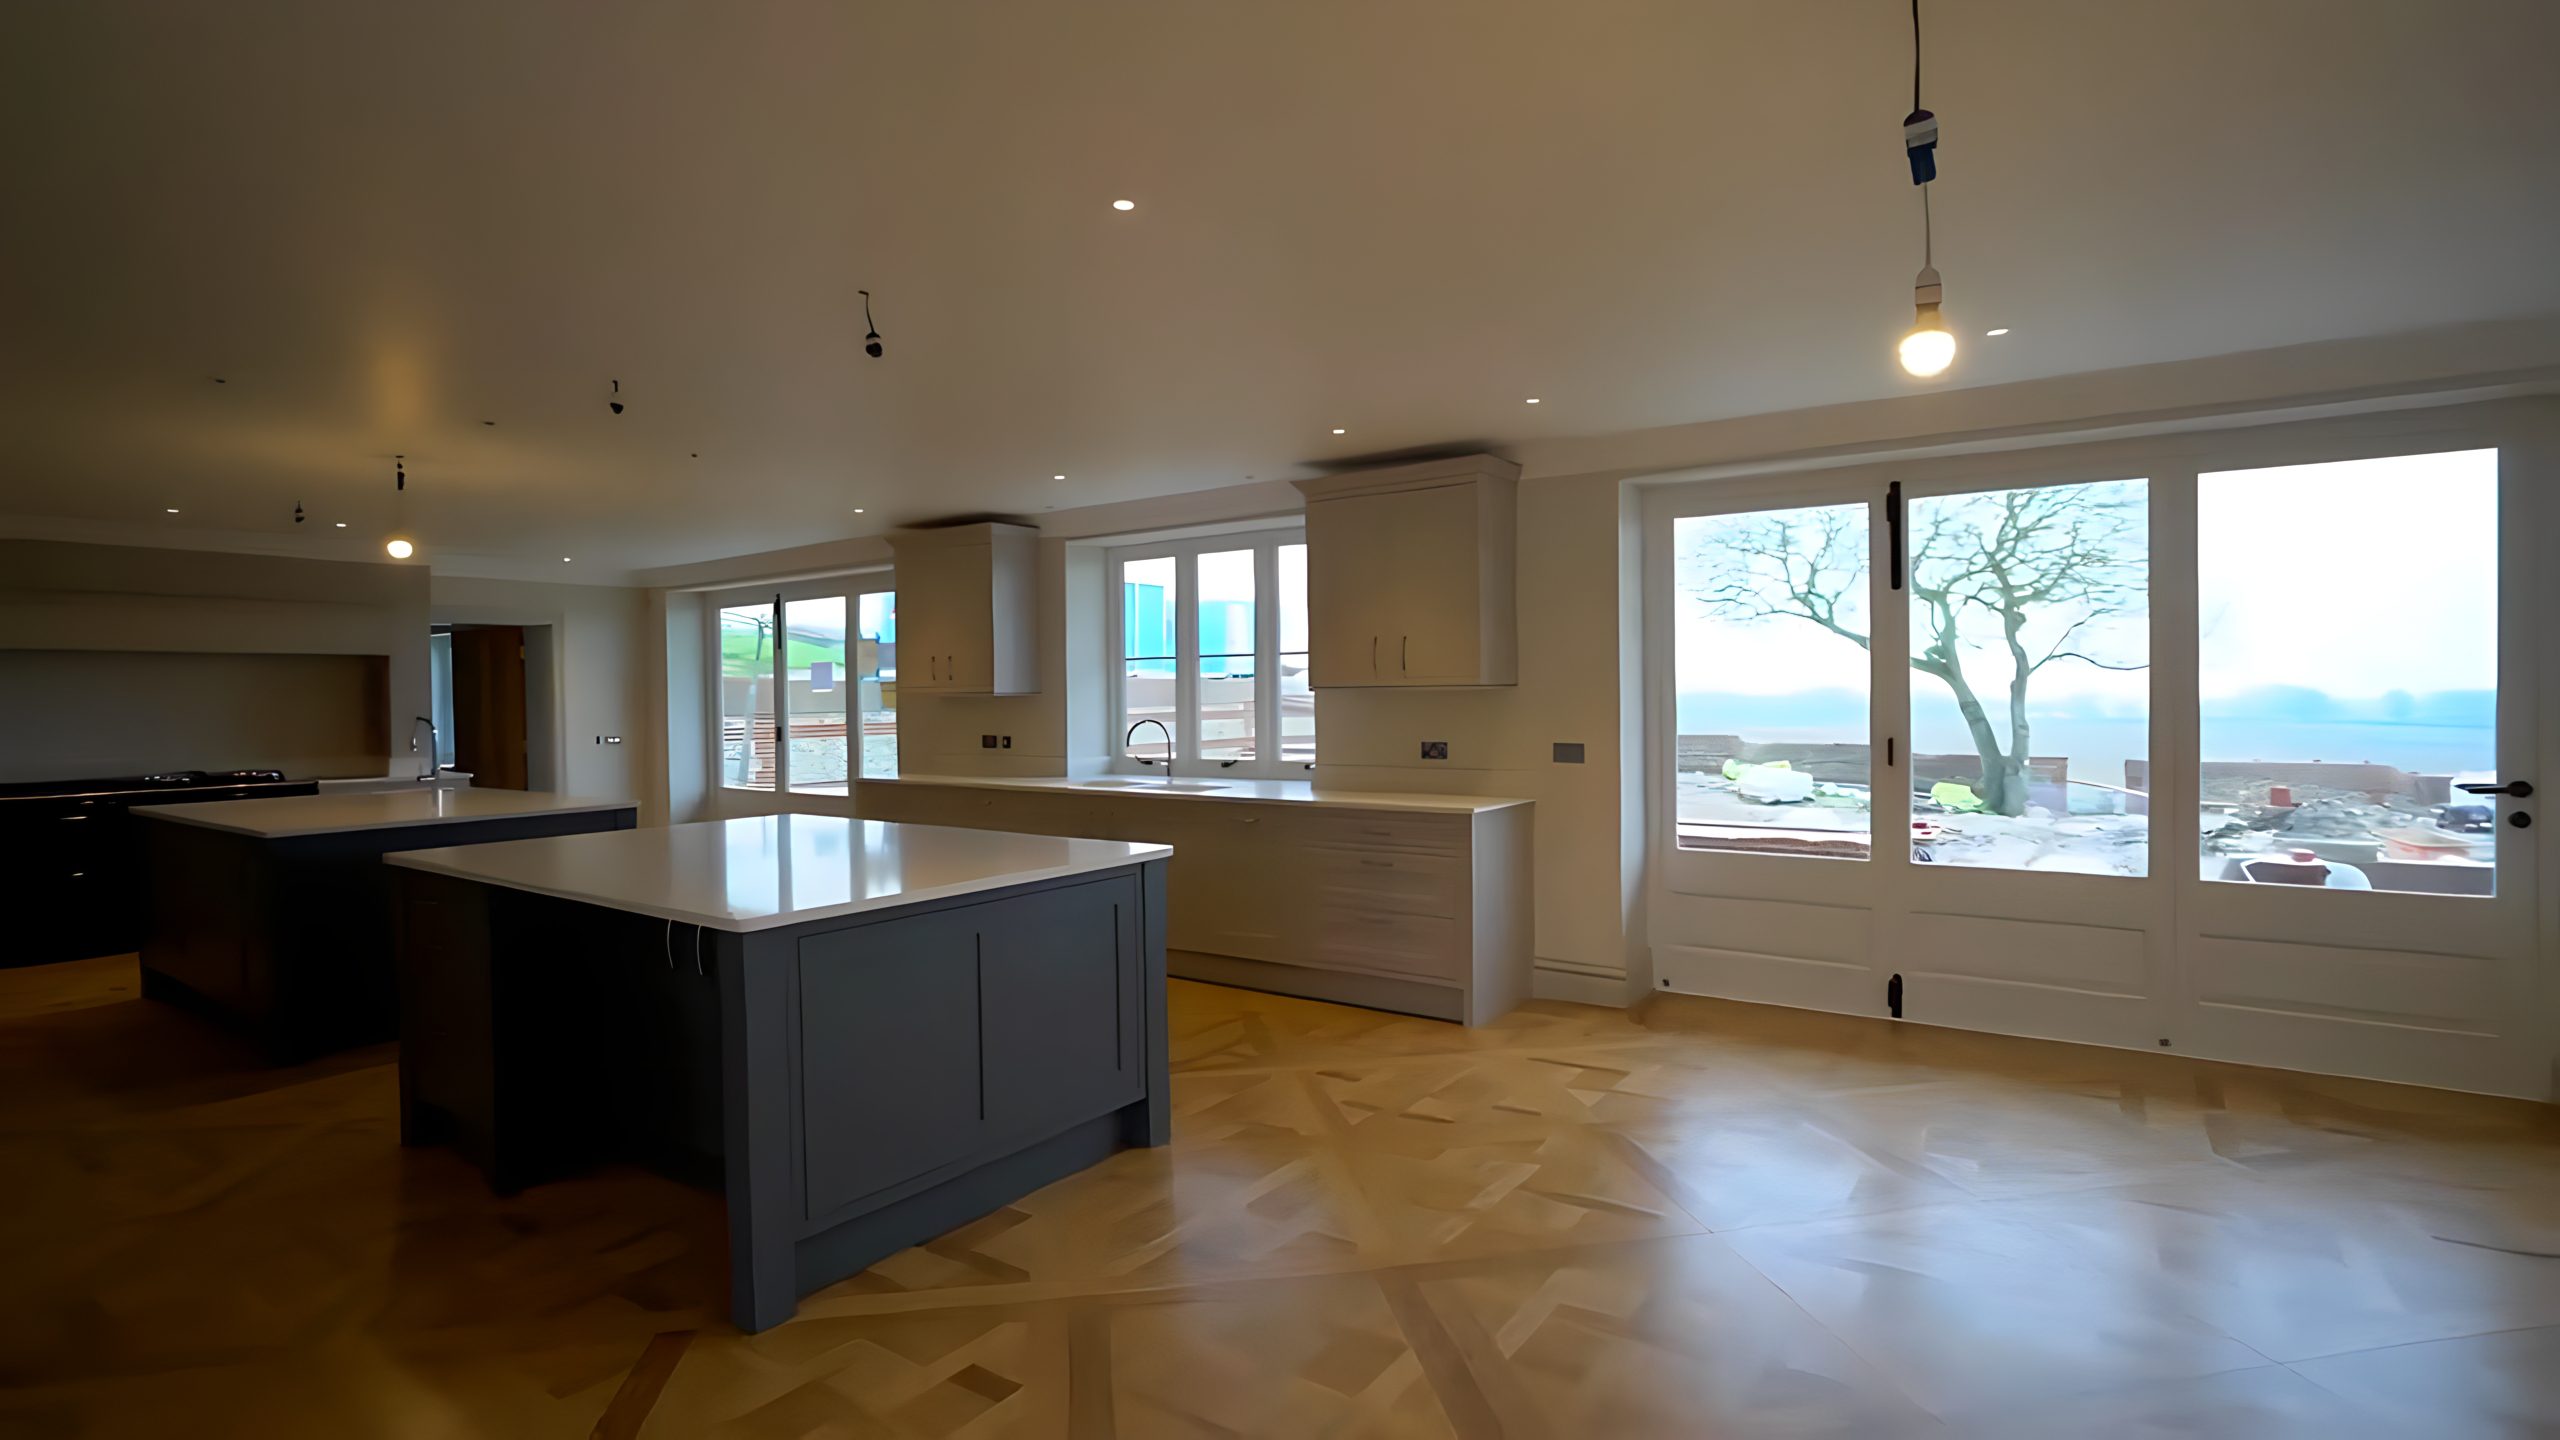
In conclusion, installing wooden flooring yourself can be a rewarding and cost-effective project. From preparing your subfloor to maintaining your new floor, each step is crucial to achieving a professional finish. By following these simple DIY tips and using the right tools and materials, you’ll be able to transform your space with beautiful, durable wood flooring.
Frequently Asked Questions
How long should wooden flooring acclimatise before installation?
Wooden flooring should acclimatise for at least seven days prior to installation to achieve optimal moisture balance and prevent future issues. This ensures the flooring performs well in its new environment.
What is the importance of maintaining an expansion gap during installation?
Maintaining an expansion gap during installation is crucial as it accommodates natural wood movement, thus preventing warping and buckling. This ensures the longevity and stability of the installation.
Can I install wooden flooring directly on a concrete subfloor?
Yes, you can install wooden flooring directly on a concrete subfloor, but it is essential to use a flexible adhesive to allow for the natural expansion and contraction of the wood.
What tools are essential for a wood flooring installation?
Essential tools for wood flooring installation include a moisture meter, rubber mallet, tape measure, chalk line, tapping block, mitre box, and panel saw. Utilising these tools will ensure a precise and efficient installation process.
How do I maintain my wooden floor after installation?
To maintain your wooden floor effectively, ensure you clean it regularly, use felt pads under furniture to prevent scratches, and address any spills immediately to protect the surface.