
A fresh scratch on a wood floor is rarely as bad as it first looks. If you know how to remove scratches from wood flooring, most light and moderate marks can be dealt with at home using the right product for your floor’s finish, while deeper gouges usually call for a professional sand and refinish. The method that works depends less on the wood species and more on whether your floor is oiled or lacquered, which is the detail most guides skip past.
What Causes Scratches on Wood Flooring?
Grit tracked in on shoes is the biggest culprit, acting like sandpaper every time someone walks across the room. This Old House points to footwear, particularly high heels, pet claws, dragged furniture and heavy equipment during renovation work as the main causes of scratching. None of these are unusual in a family home, which is why almost every wood floor picks up marks over time regardless of how carefully it’s looked after.
Work Out Your Floor’s Finish Before You Start
This is the step most scratch removal guides gloss over, and it’s the one that actually determines what you should do next. Wood floors are typically finished with either oil or lacquer, and the two need completely different repair approaches.
Run a finger over the surface. Oiled floors feel more matte and slightly textured, with the grain visible and tactile underneath. Lacquered floors have a smoother, glossier film sitting on top of the wood rather than soaked into it. If you’re not sure, a small water drop test helps, since on an oiled floor the water will slowly darken the wood, while on a lacquered floor it tends to bead on the surface.
Oiled floors
On an oiled floor, the finish sits within the wood fibres rather than as a separate layer, so light and moderate scratches can usually be spot repaired without touching the rest of the board.
Lacquered floors
Lacquer forms a continuous film across the board. Floorsave’s flooring advice notes that surface scratches on a lacquered floor are extremely hard to repair well, and that the whole board has to be treated rather than just the damaged patch, because a small patch of new lacquer will often look different to the surrounding finish.
How to Remove Light Scratches from Wood Flooring
For faint surface scratches that haven’t gone through the finish, start simple.
On an oiled floor, clean the area with an oil based floor cleaner, then buff a little maintenance oil into the scratch with a lint free cloth, working along the grain. Floorsave’s guide for oiled floors recommends gently buffing with 120 grit sandpaper along the grain first if the mark is still visible, then vacuuming before reapplying oil in circular motions followed by strokes along the grain, leaving three to four hours between coats.
On a lacquered floor, a wax filler stick or blending pencil matched to your floor colour is usually the safer first move for hairline marks, since sanding a lacquered finish without matching the whole board can leave a patch that stands out more than the scratch did.
Cracking open a walnut and rubbing the meat of the nut directly onto a light scratch is an old trick that This Old House still recommends, and the natural oils really can disguise faint marks on darker wood, though it’s a temporary camouflage rather than a repair.
How to Fix Moderate Scratches on Wood Flooring
Once a scratch is deep enough to catch a fingernail, cleaning alone won’t shift it, and the repair depends again on the finish.
For an oiled floor, Floorsave outlines light sanding along the grain with 120 grit paper, followed by vacuuming and a fresh coat of maintenance or touch up oil. Flooring manufacturer Kährs recommends a satin oil for shallow marks and a dedicated touch up oil for anything deeper, which is a useful rule of thumb whichever brand of oil you’re using.
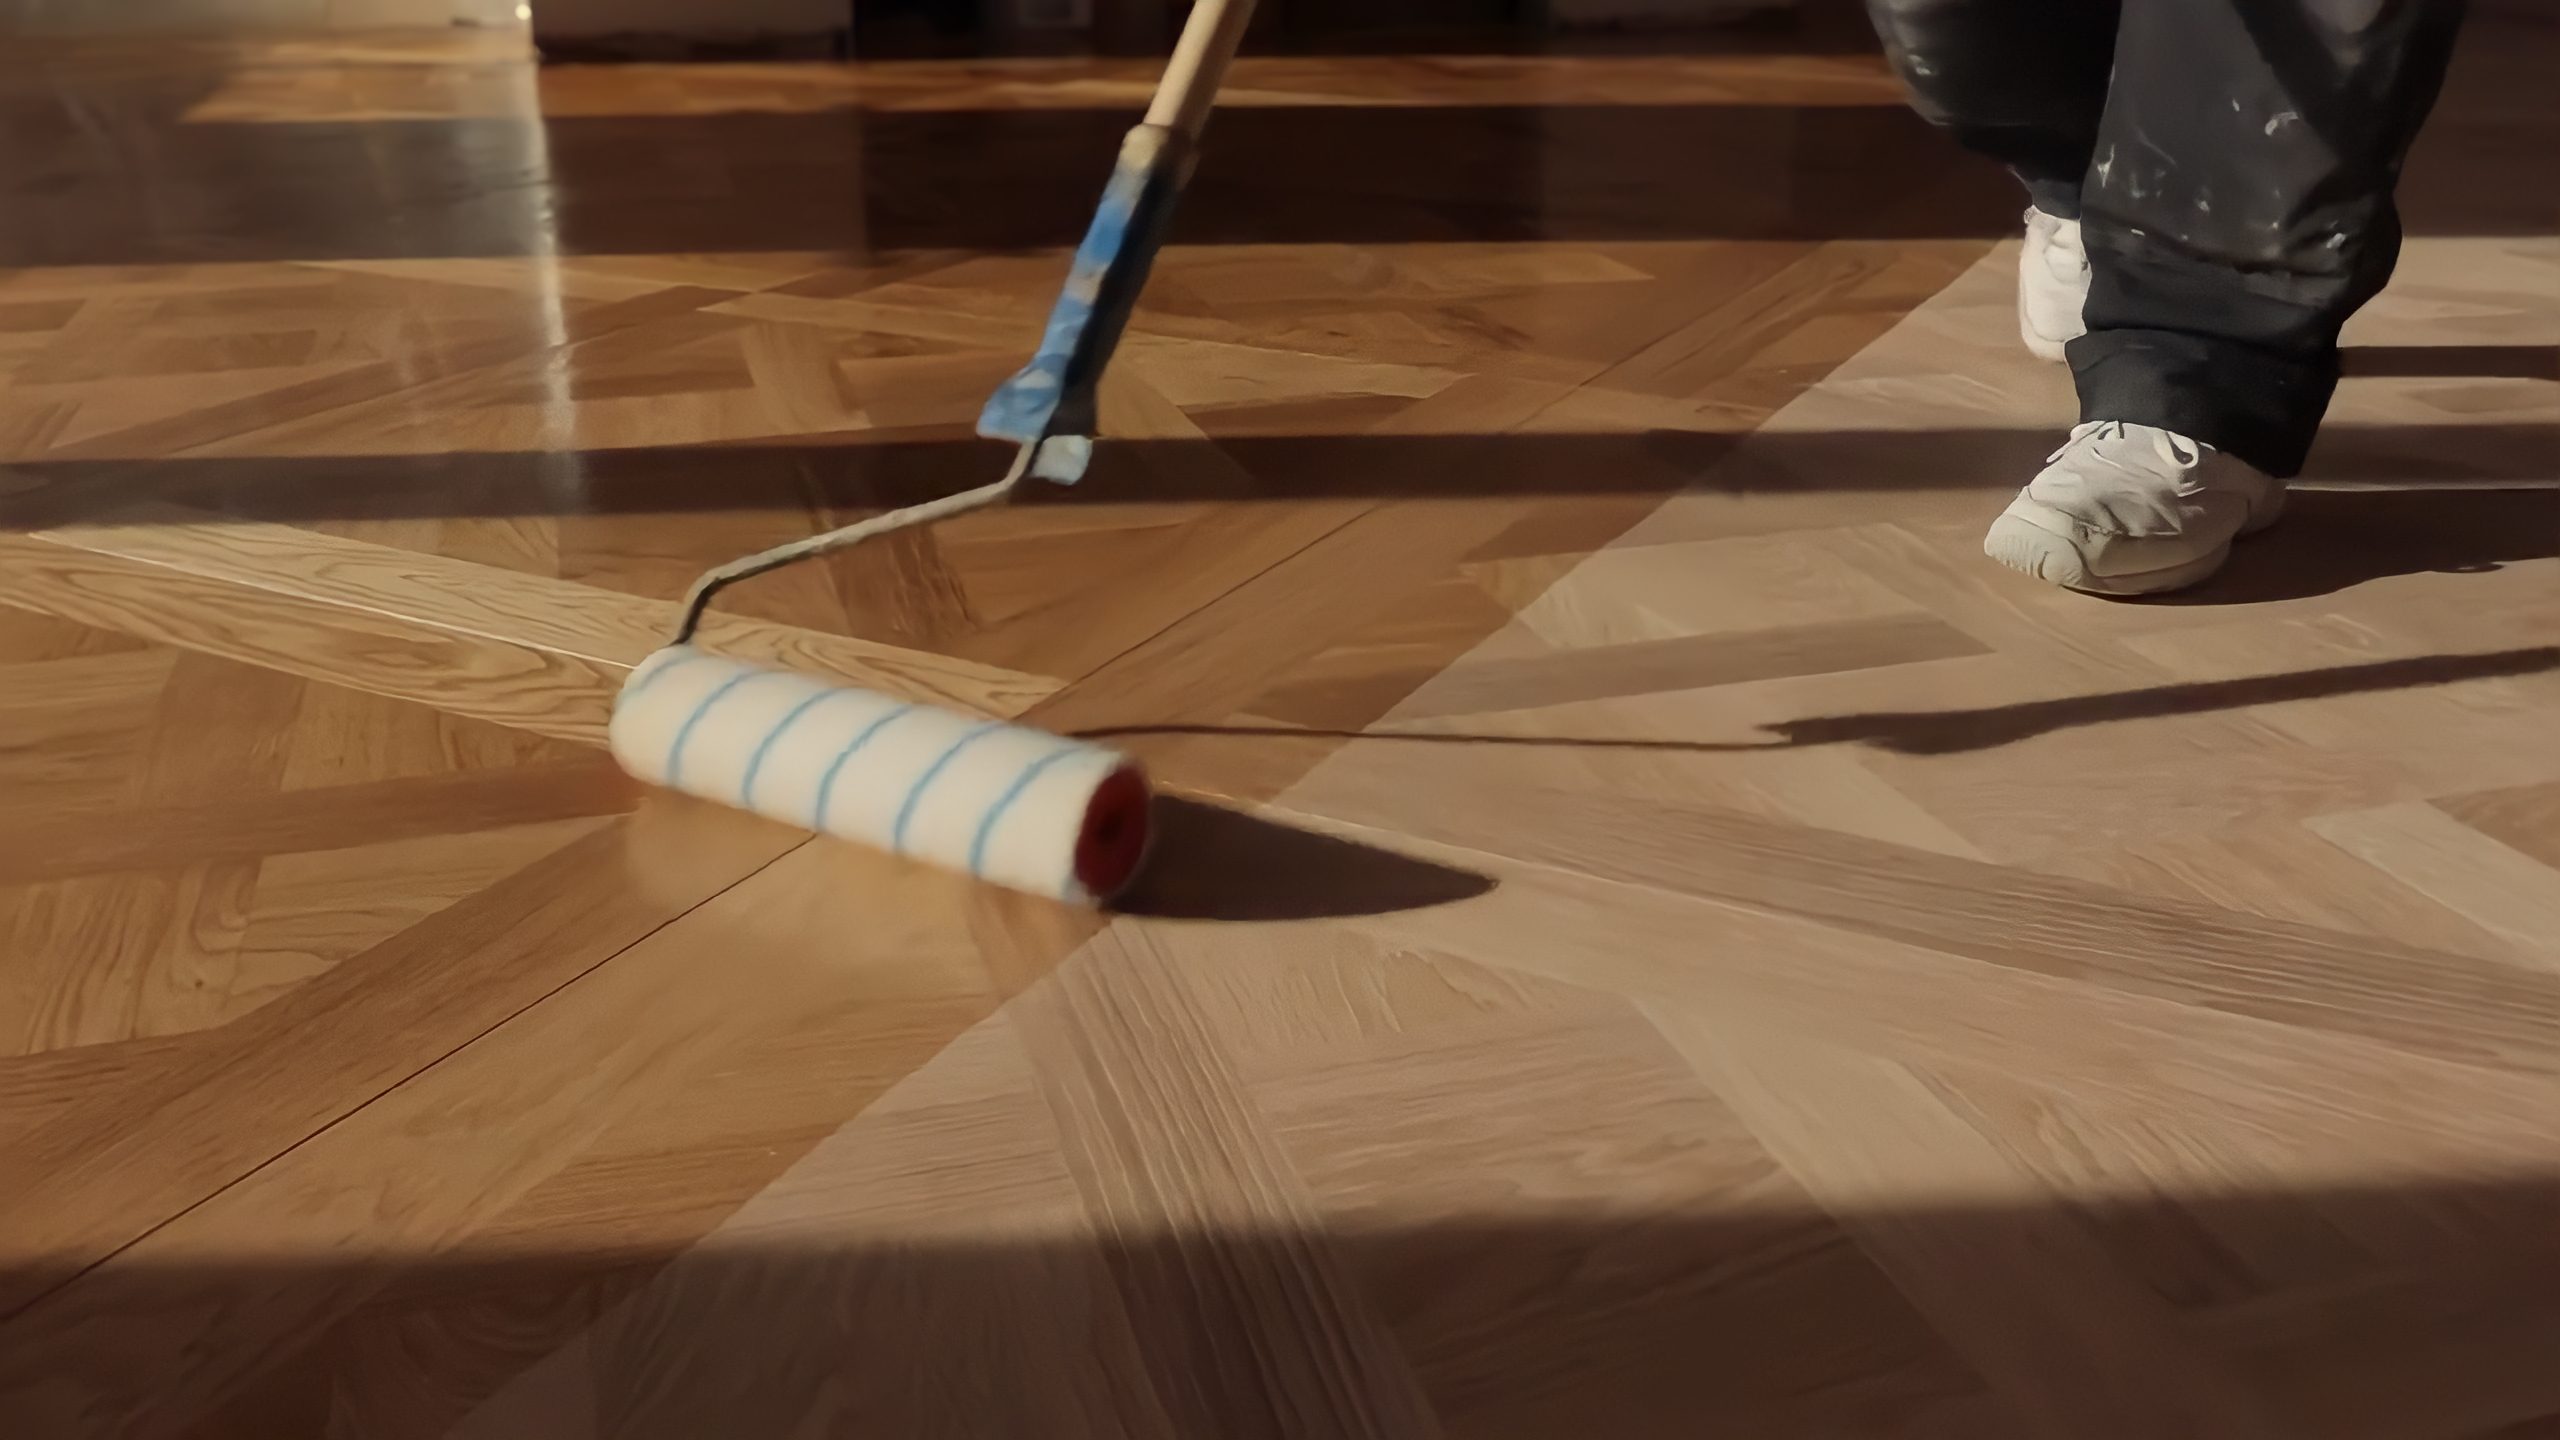
For a lacquered floor, expect to mask off the whole board with low tack tape, then apply a thin, even coat of lacquer with a roller or brush along the grain, leaving four to six hours to dry before a second coat if needed. Floorsave recommends water based lacquers over solvent based ones for repairs, since they’re less likely to react with the existing finish and cause patchiness, dullness or peeling. Test on an offcut first if you have one.
Repairing Deep Scratches and Gouges
Deep gouges that have gone through the finish and into the wood itself need filling before they need colour matching. Clean out any loose debris, press a wood filler or wax stick matched to your floor colour into the gouge, let it cure fully, then sand it level with the surrounding boards before reapplying oil or lacquer.
This is where engineered wood floors need extra care. The wear layer on an engineered board is only a few millimetres thick, so aggressive sanding can go straight through to the plywood core beneath. If you’re at all unsure how much wear layer you have left, it’s worth getting a professional opinion before reaching for the sander. Once a scratch has gone beyond a simple spot fix, Just Wood’s sanding and refinishing service is a safer route than guessing.
What Not to Do
A few popular internet fixes cause more damage than they solve. Steam is one of them. This Old House notes that steam treatments used to lift dents won’t work on laminate, engineered hardwood or floors finished with wax, and can cause delamination, which matters if your home has engineered boards rather than solid wood. We’ve covered the wider risks of applying heat and moisture to a wood floor in our guide to steam cleaning wood floors safely, and the same caution applies to any steam based scratch fix.
Harsh abrasives, bleach based cleaners and generic multi surface sprays can also strip or dull a finish permanently, so it’s worth checking a cleaning product is specifically made for wood floors before it goes anywhere near yours.
When to Call a Professional
DIY repairs are fine for isolated scratches, but a few situations are better handed to a flooring specialist. Widespread scratching across most of a room usually means the finish has worn through generally, not just in patches, and a full sand and refinish will give a more even result than dozens of spot repairs. The same goes for lacquered floors, where an uneven DIY recoat can be more noticeable than the original damage. If your floor is old enough that you’re not sure how much wear layer or solid wood is left to sand, Just Wood’s restoration service can assess what the floor can safely take before any sanding starts.
Preventing Future Scratches on Wood Flooring
A little prevention goes further than any repair kit. Kährs’ own maintenance advice includes placing doormats at entrances, sweeping before vacuuming to avoid trapping grit under the vacuum head, and using felt pads under furniture legs. Trimming pets’ nails regularly and swapping stiletto heels for softer soled shoes indoors both make a genuine difference too, since it’s usually grit and point pressure rather than general foot traffic that does the damage.
If your floor’s finish has worn thin in high traffic areas, a maintenance oil or floor staining refresh before scratches start appearing can save a full refinish further down the line.
Most scratches are fixable, whether that’s five minutes with a wax pencil or a weekend spent sanding and refinishing a hallway. If you’re not sure which category yours falls into, Just Wood has been fitting, restoring and maintaining hardwood floors across Surrey, Sussex and Hampshire since 1993, and can usually tell you over a quick phone call whether it’s a DIY job or worth a professional look.
FAQs
Can you remove scratches from wood floors without sanding? Yes, for light and moderate scratches. Cleaning, oil or wax filler sticks, blending pencils and touch up oil or lacquer can deal with most surface level marks without any sanding at all. Sanding only becomes necessary once a scratch has gone through the finish and into the wood, or when scratching is widespread across a room.
Does olive oil or WD-40 remove scratches from wood floors? Household oils can temporarily darken a scratch and make it less visible, similar to the walnut trick, but they sit on top of the wood rather than repairing the finish and can attract dust or leave a residue over time. A proper maintenance oil or wax filler matched to your floor is a more lasting fix.
How do you fix scratches on an oiled wood floor? Clean the area, lightly sand along the grain with fine grit paper if the mark is still visible, vacuum thoroughly, then work maintenance or touch up oil into the wood with a lint free cloth. Oiled floors can usually be spot repaired without touching the rest of the board.
How do you fix scratches on a lacquered wood floor? Lacquered floors are less forgiving than oiled ones, since the whole board typically needs recoating rather than just the scratched patch, and a mismatched patch can end up more visible than the original scratch. Mask the board, clean thoroughly, then apply a thin, even coat of water based lacquer along the grain and allow it to dry fully before deciding if a second coat is needed.
Can engineered wood floors be sanded to remove scratches? Some can, but it depends on how thick the wear layer is. Thinner engineered boards may only allow one light sand in their lifetime, or none at all, so it’s worth checking with a specialist before sanding rather than risking sanding through to the core underneath.