
When installing any floating floor, it is very important to carry out the proper preparation to avoid problems later on. Woodpecker floating floors are amongst the easiest to fit, in a wide range of different spaces, but there are still a few crucial things to do before installation, and a few more once fitting itself gets underway.
Before getting your Woodpecker floor fitted, make sure you check the following.
1. Is the sub-floor level?
When fitting any wood floor, you must make sure the subfloor is level to within 3mm over a radius of 2 metres, to avoid bouncy areas. This isn’t a rule of thumb either. Industry flatness standards set out by the National Wood Flooring Association call for floating floor substrates to sit within a similarly tight tolerance, and for good reason. If the subfloor is out of level, the boards will rock underfoot, the joints will work loose over time, and squeaks tend to follow. A levelling compound can correct dips and high spots before the underlay goes down, and it’s far easier to sort at this stage than after the floor is fitted.
2. Sub-floor moisture levels
Using a moisture meter, the moisture levels in the sub-floor can be tested. Cement-based sub-floors should have a reading of less than 70% (depending on the type of meter used), whilst wood-based sub-floors should have between 7% and 11% Wood Moisture Equivalent (WME).
It’s also worth testing the flooring boards themselves alongside the subfloor. Woodpecker recommends keeping the gap between the two readings to no more than 4%, since a bigger difference can cause the boards to cup or shrink once they’re down. If a reading comes back higher than it should, don’t install over it. A known moisture problem left under a new floor tends to resurface, and it’s a much bigger job to fix once the boards are in place.
3. Atmospheric relative humidity (RH) levels
This is the level of humidity in the air, in the room where wooden flooring is to be installed. Ideally, atmospheric RH levels should be between 40% and 60%.
Room temperature matters here too. Woodpecker’s own guidance puts the minimum room temperature at 18°C, with the floor itself no colder than 15°C. Fitting in a cold, damp room, even briefly, can undo all the acclimatisation work done beforehand, so it’s worth checking the heating has been running normally for a few days before the fitters arrive.
4. Have you tested the underfloor heating?
If you have underfloor heating, you must make sure it is properly tested by a qualified engineer before installing a floating wood floor over it. You must also make sure the heating is turned off at least 48 hours before floor installation, and then slowly turned back up 48 hours after completion of the floor.
One thing worth flagging early: not every fitting method suits underfloor heating. Woodpecker advises that engineered boards going over underfloor heating are usually better glued down rather than floated, since a solid bond between board and subfloor helps the heat transfer evenly and reduces movement. If underfloor heating is part of the plan, it’s worth raising with your fitter before you commit to a floating installation.
5. Have you acclimatised the wood?
Before installation, you need to leave solid wood flooring out in the room where it will be fitted (out of its packaging) for the amount of time recommended by the manufacturer, to allow it to acclimatise to humidity levels in the room.
As a general guide, Woodpecker recommends acclimatising solid wood for 5 to 10 days and engineered wood for 3 to 4 days, though this can vary by product, so always check the specific instructions that come with your boards. Skipping this step, or rushing it, is one of the most common reasons floors move or gap after fitting.
What tools and materials will you need?
A Woodpecker floating floor doesn’t call for much specialist kit, but having the right materials ready on the day makes for a much smoother fit:
- A moisture meter, to check subfloor and board readings before laying begins
- Underlay suited to your subfloor type
- Spacers, to hold a consistent expansion gap around the perimeter while boards are laid
- A tapping block and pull bar, for fitting boards tightly without damaging the tongue and groove
- A fine-tooth saw for cutting boards to size, particularly around doorways and fittings
- Trims and transition strips to finish the edges and doorways
Choosing the right underlay
Underlay isn’t an optional extra on a floating floor, it’s doing three jobs at once. Woodpecker’s guidance is clear that it provides sound insulation, helps level out minor imperfections in the subfloor, and acts as a moisture barrier.
The right type depends on what’s underneath. For concrete subfloors, look for underlay with a built-in vapour barrier, or lay a separate polythene sheet first, since concrete can hold residual moisture long after it looks dry. On a wood subfloor such as plywood or OSB, a standard foam or cork underlay is usually enough. If you’re not sure which category your subfloor falls into, this is exactly the kind of thing to check with your fitter rather than guess.
What happens on installation day
Racking the floor
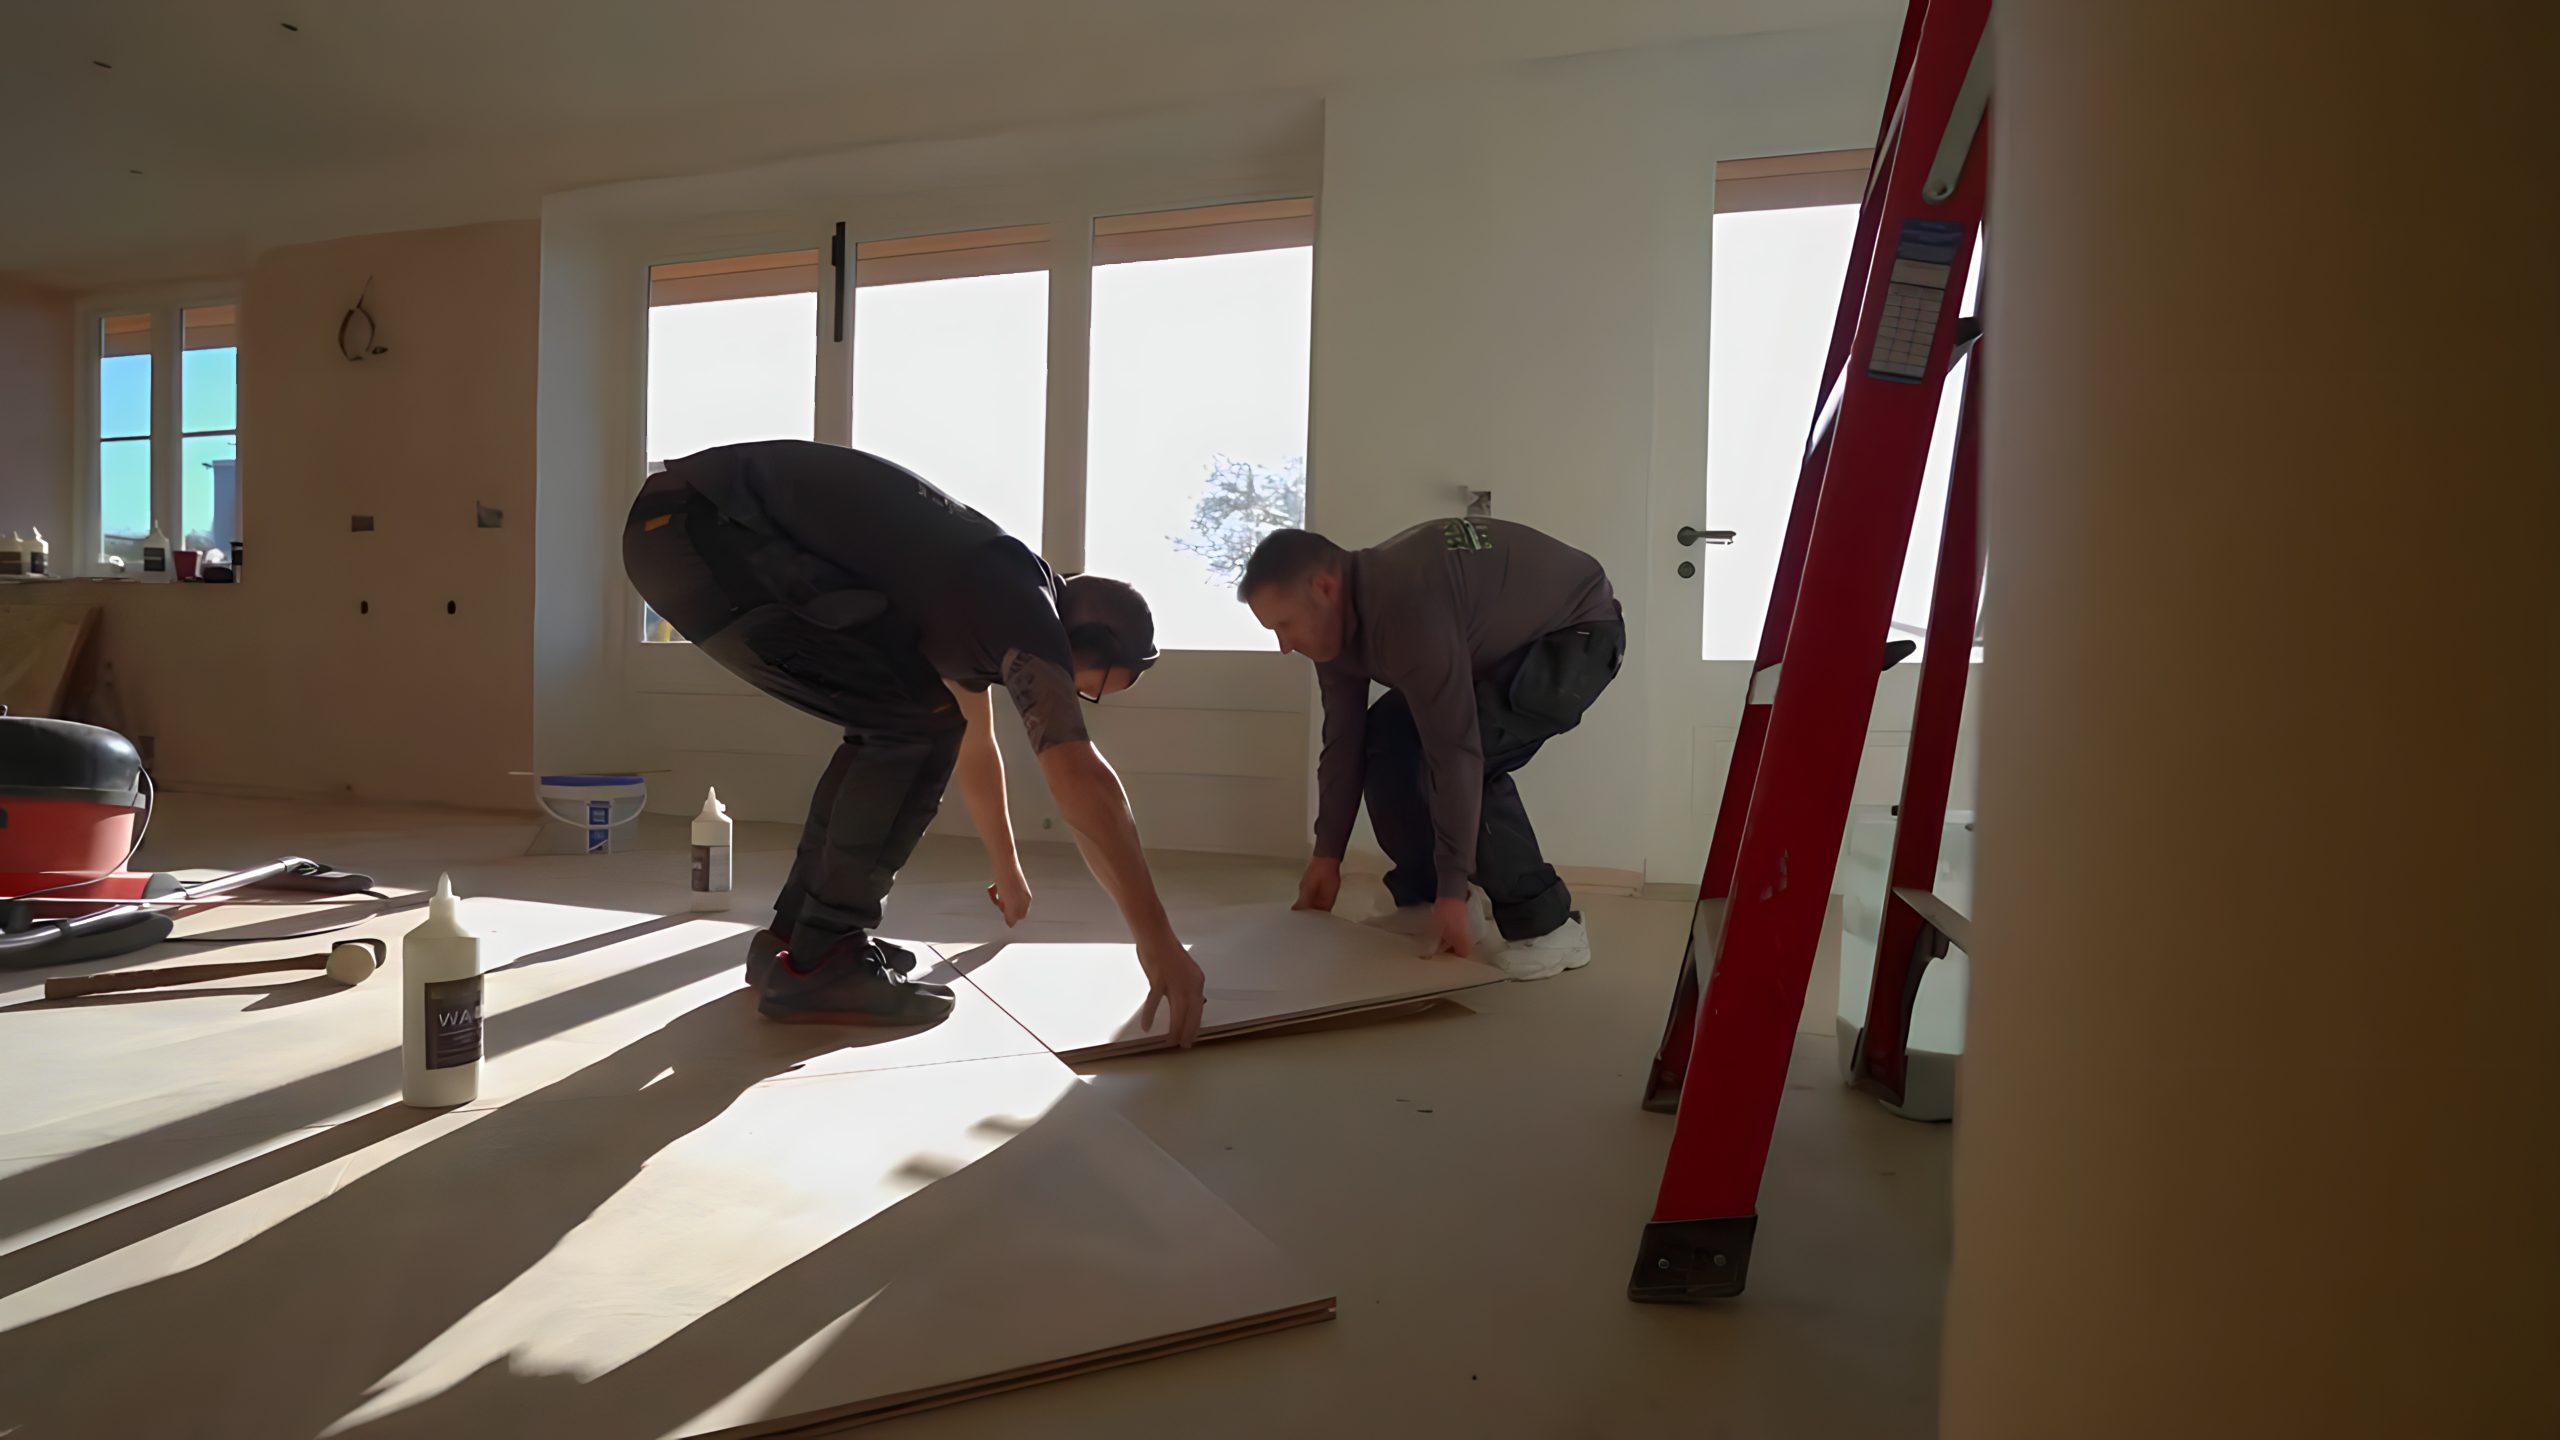
Before anything is fixed down, the boards are laid out loose across the room, a process called racking. This lets the fitter balance the natural colour variation across the batch, mixing lighter and darker boards so the finish looks even rather than patchy in places. On a plywood subfloor, boards are typically run perpendicular to the joists underneath, which gives the floor extra stability.
Leaving the correct expansion gaps
Wood moves with the seasons, expanding in humid weather and contracting when the air dries out, so a floating floor needs room to do that without buckling. Woodpecker specifies a 10 to 15mm expansion gap around the perimeter for solid wood floors up to 5 metres wide, and the same for engineered floors up to 8 metres wide, with an extra 2mm added per metre beyond that. This gap needs to run around the whole room, including door thresholds and any fixed obstructions such as kitchen islands.
Fitting trims and finishing touches
Trims and skirting cover the expansion gap and give the room a finished look. Woodpecker’s fitting instructions are firm on one point here, trims should always be fixed to the wall, never down into the floor itself, otherwise they’ll pin the boards in place and stop the natural expansion and contraction the gap was there to allow.
Protecting the new floor
Once boards are down, it’s worth protecting the surface while the rest of the room comes together, particularly if other trades are still working. Use breathable paper or cardboard taped over the boards rather than plastic sheeting, which traps moisture against the finish and can cause its own problems.
Common mistakes that can affect your warranty
A few avoidable errors account for most of the callbacks we see on floating floor installations:
- Fitting before the wood has fully acclimatised to the room
- Ignoring or skipping the moisture meter check on the subfloor
- Filling in or blocking the expansion gap with skirting, cabinetry, or furniture fixed to the floor
- Nailing trims down into the boards rather than into the wall
- Installing over underfloor heating that hasn’t been tested and run through its heating cycle first
Most of these are covered under a manufacturer’s fitting instructions, and getting them wrong can affect any warranty claim further down the line, so it’s worth having a qualified fitter handle preparation and laying even if you’re comfortable with DIY generally.
Caring for your new floor
Once the floor is fitted and the underfloor heating (if you have it) has been brought back up slowly, day to day care is straightforward. Clean with products suited to the finish, avoid soaking the boards with water, and use protective pads under furniture in high traffic areas. Our cleaning and maintenance guide covers this in more detail if you want a full run through.
If you’re planning a Woodpecker floating floor and want the preparation checked before fitting day, our wood floor installation service covers everything from subfloor testing through to the final trims, and we’re happy to talk through solid and engineered hardwood options for your specific room.
FAQs
How long does it take to install a Woodpecker floating floor?
A typical room can be fitted in a day once the subfloor is prepared and the wood has acclimatised, though larger areas, intricate layouts such as herringbone, or rooms needing subfloor levelling first will take longer.
Can I fit a Woodpecker floating floor over underfloor heating?
Yes, but the heating must be tested by a qualified engineer first and switched off for at least 48 hours before fitting, then brought back up gradually over 48 hours afterwards. For underfloor heating specifically, a glued rather than floated installation is often recommended for better heat transfer. See our guide to wood flooring and underfloor heating for more detail.
What happens if I don’t acclimatise the wood before fitting?
The boards can absorb or lose moisture unevenly once they’re down, leading to gaps, cupping, or warping as the floor settles into the room. This is one of the most common causes of post-installation problems and is generally not covered under warranty.
How big should the expansion gap be around a floating floor?
For solid wood up to 5 metres wide, and engineered wood up to 8 metres wide, allow 10 to 15mm around the perimeter, with an extra 2mm per metre for anything larger. The gap should run around the entire room, including thresholds and fixed obstructions.
Can Just Wood test my subfloor and moisture levels before fitting?
Yes, subfloor and moisture testing is part of our standard installation process, so you’re not left guessing whether a room is ready for a new floor. Get in touch via our contact page to arrange a visit.